As the Event Organizer, you have the opportunity to add Event-Managed Booths. These are booths that are not tied to any Order Number or Exhibitor account, but are created and managed by you and tied to your event. These booths will not show up on your Submissions Dashboard, they will only be accessible and editable through the Expo Hall on your Virtual Village.
To do this, simply login to your account and access your event's Virtual Village in Edit Mode. This will open up your Virtual Village landing page, which is the Main Stage. To access the Expo Hall with all the booths, click Expo Hall in the header link bar at the top.

Here, on the top right, you will see a green button to Manage Booths.

Click the Manage Booths button to open up a view where you can Reorder, Feature, and Pin booths. You can also create event-managed booths here by clicking the green button in the right to Create Event-Managed Booth.

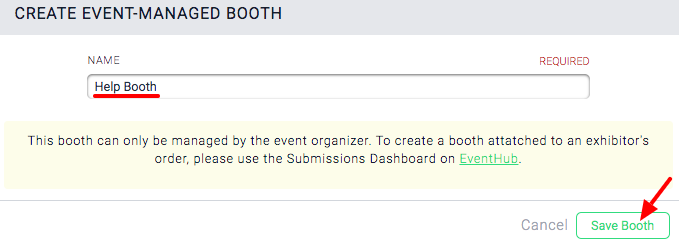
Clicking this button will bring up the following pop-up, where you can enter the name for your Event-Managed booth and click Save Booth in the bottom right to create it.

This booth will show up all the way at the bottom of the current page. Scroll all the way down to find it.

From here, you can click the icons to do the following:
- ✏️ Edit the booth name
- ⭐️ Feature the booth (More information here)
- ⏫ Move all the way to the top of the section it's currently in
- 🔼 Move one up
- 🔽 Move one down
- ⏬ Move all the way to the bottom of the section it's currently in
- 📌 Pin the booth (More information here)
Once you have it where you want, remember to click Save Changes at the top of the Manage Booths page and go back to your Expo Hall.

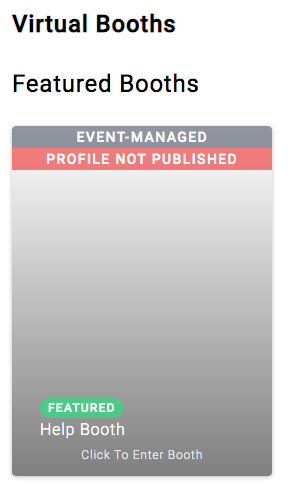
Back on your Expo Hall, you will see your Event-Managed Booth appear alongside all the other Booths. We decided to Feature our Help Booth, so it appears under the "Featured Booths" section.

You can see that it has an "Event-Managed" label for your internal use, this will not be shown to Attendees. Right now, you can see it also says "Profile Not Published" and doesn't have a Preview Image. Click into this booth tile just like you would any other Booth to enter it.
When you go into the Booth, you will see the editing sidebar and be able to fill it out just like any other booth. You'll notice at the top, on the right, it says "EVENT-MANAGED BOOTH." You can also toggle Publish Profile on to publish the booth.

For tips on how to fill out a booth, please refer to our Help Article for Exhibitors on Creating Your Virtual Booth and Best Practices.
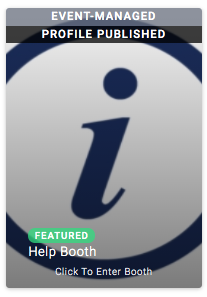
Once you fill out your booth and Publish it, when you back to the Main Hall page, it'll look something like this:

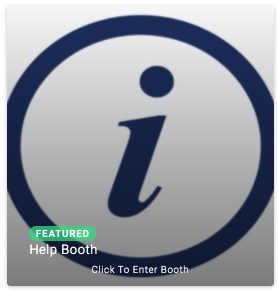
If you scroll back to the top of your page and switch the Attendee View, you'll see what it looks like to Attendees:

Here, it doesn't show that it's an Event-Managed Booth, it just looks like any other booth on your event!
If you create a new event and want to copy over this event's Virtual Village into it, all the Event-Managed Booths will also get copied over. This way, if you've put lots of effort into designing booths for one of your events, and just want to copy them over, you can! Check out the tutorial on copying over a Virtual Village here.


Comments
0 comments
Please sign in to leave a comment.