Here is a step-by-step guide to make sure you, the Exhibitor, are all ready to go with your booth for your virtual event.
Below are the topics including in this article. Click on one to jump to that section.
- Preferred Browsers
- Accessing your booth
- Edit Mode
- Booth Session Hours
- Video chat sessions
- What different labels on the video chat button mean
- Where the Messages go
- Troubleshooting camera + mic access
- Editing your event
- What to do if you need additional support
Preferred Browsers
- Chrome, Firefox, or Safari
- We recommend that you do not use Microsoft Edge or Internet Explorer.
Accessing your booth
- Not sure how to get to the main page of your booth? Click HERE to read more.
Always in Edit Mode
![]()
Whenever you're in your booth, you should be in Edit Mode, shown as selected with an underline at the very top of your webpage.
- Edit Mode is always where you should access your booth
- Click on Attendee View to copy the public url for your booth and share it with all your friends and followers. This is how they will access your booth when it goes live, and what their view will look like. You can also share the public link for the event main stage, unless advised otherwise by your organizer!

Again, you should always be in Edit Mode to manage and make changes to your booth, whether that's before the event, or when the event is live.
NOTE: You can always make changes to your booth from Edit Mode, even during the event! Just make sure you click "Save Changes" and those changes will be effective immediately. It won't break your booth or anything!
Booth Session Hours
At the top of the editing sidebar, you will see that Booth Session Hours. These are the hours that the event, and your booth (including video chat), will go live. These hours are set by the event organizers. If you do not see set hours, please contact your event organizer (LINK HERE for how to do that). You cannot update these hours yourself.
Virtual Chat Room
Once you've set up your video chat by following the instructions here: How to Enable Video Chat for your Virtual Booth, you're ready to test it out! At the top of your booth editing page (always in Edit Mode), and you should see a button that says "Start Practice Chat."
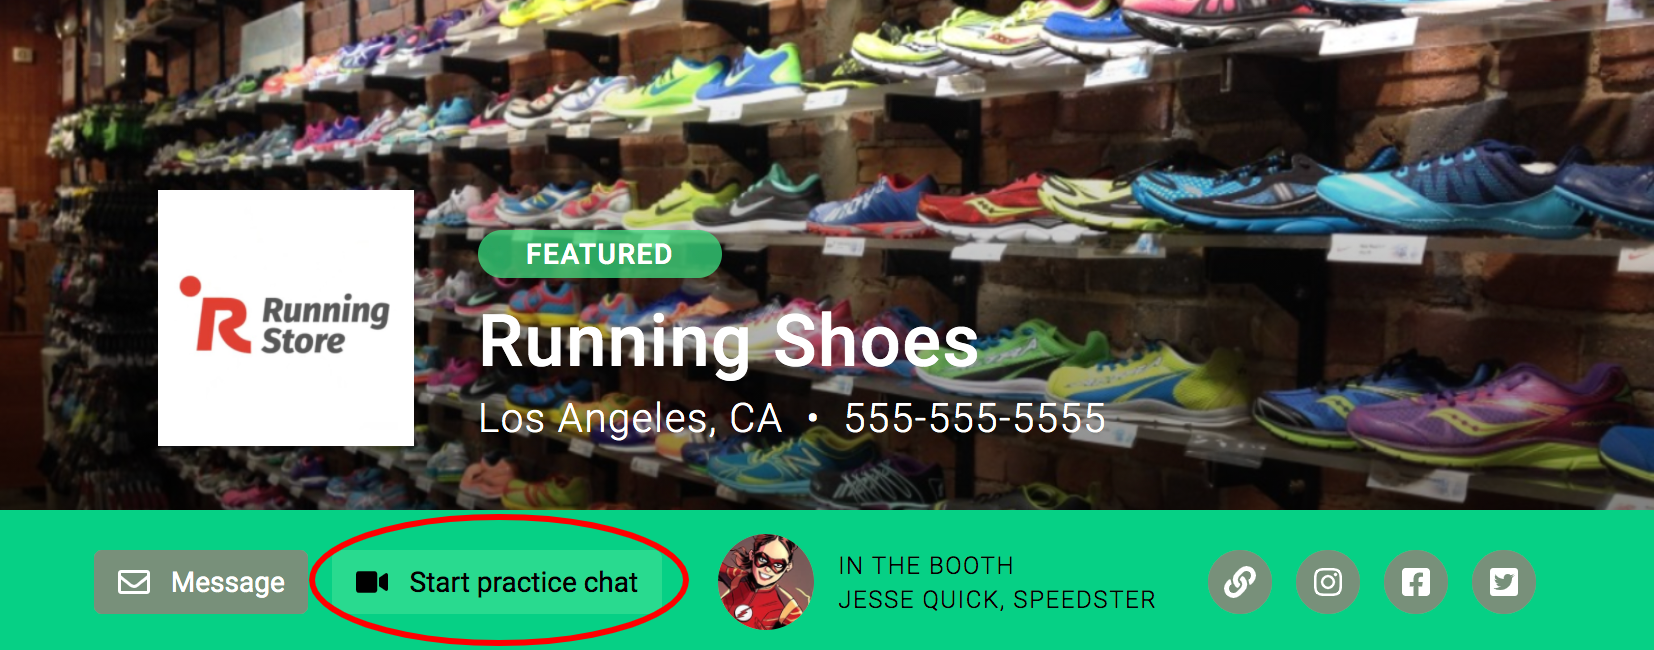
Please test your video before the event begins. You will likely have to enable camera and microphone access on your browser. CLICK HERE for step-by-step instructions on how to do this.
Different Chat Labels
Before the event goes live - "Start Practice Chat"

- This button will remain available for practice until 30 minutes before the event start time.
- Clicking this button will start a practice video chat that will expire after 5 minutes. If you need longer than this, just rejoin by clicking the "Start practice chat" button again.
- If you switch to Attendee View while practice chat is available, you will NOT see a button to start the video chat. Do not panic, as soon as the event starts, a button to enter the Video Chat with you will appear on the Attendee View.
- As an exhibitor, and the person who will be "In the booth" for the virtual video sessions, you should always be in Edit Mode.
When the event goes live - "Start Live Chat"
- From your perspective in Edit Mode, the button will change to say "Start Live Chat"
- For a more detailed guide, you can check out How An Exhibitor Enters Their Virtual Chat Room
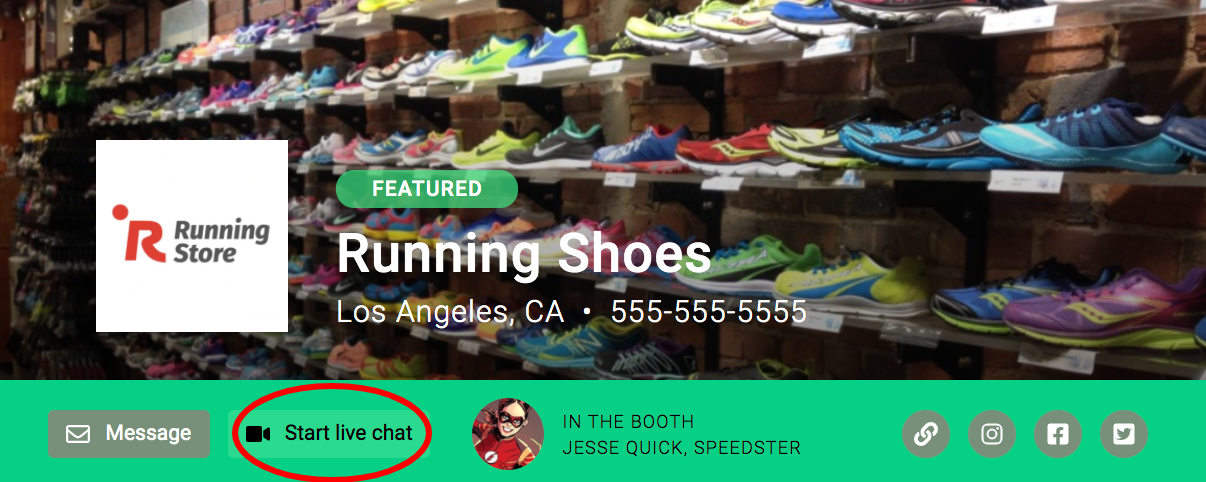
- From an attendee perspective
- They will see what's under the Attendee View link that you share with supporters to find your booth.
- You should NOT be under Attendee View to work your booth. You should always be in Edit Mode.
- When you have started the live chat on your end, attendees will see a button that says "Join Live Chat."
- They will see what's under the Attendee View link that you share with supporters to find your booth.
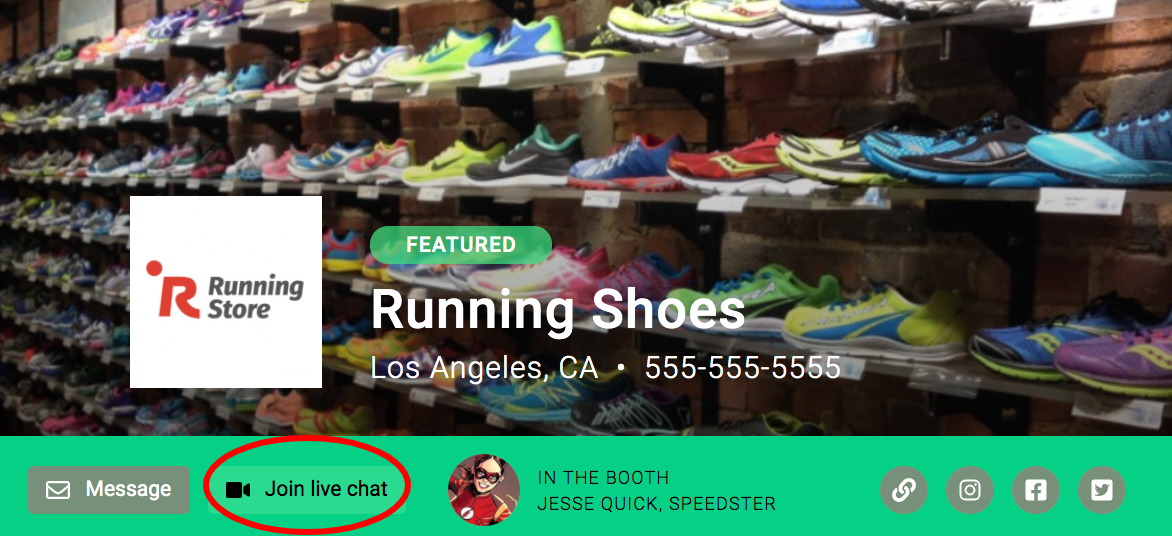
- If you have set a participant limit, and the live chat is full, someone who comes to you page will still see the above "Join live chat" button, but when they click on it, they'll be taken to a page that says "Booth is currently full...Please Try again later." and then it will automatically redirect them back to your booth page.

- If you need a break, as the presenter in Edit Mode, select "Leave Booth" from the video chat.
- On the Attendee View, attendees will now see a button that says "Back soon! Leave a message" when they come to your booth page. There is an arrow that points to the "Message" button where attendees can send you a note while you're unavailable.
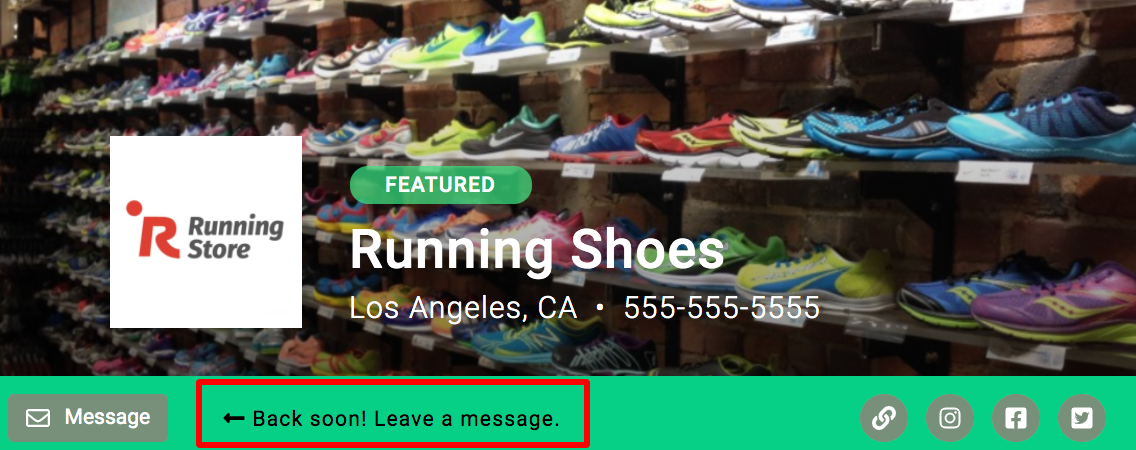
For more information, please refer to our article on How An Exhibitor Enters Their Virtual Chat Room.
Where the Messages Go
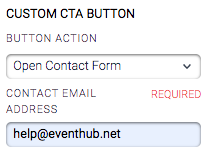
If you have the option selected in your Booth's editing sidebar for the Button Action to be "Open Contact Form," then anyone who clicks this "Message" button, will be able to send a note that is sent to the email address you specify in the sidebar under the field Contact Email Address. If you have multiple teammates and the person in the booth changes, feel free to edit the Contact Email Address field for whoever is currently available. For more information on this Custom CTA Button, please click here.
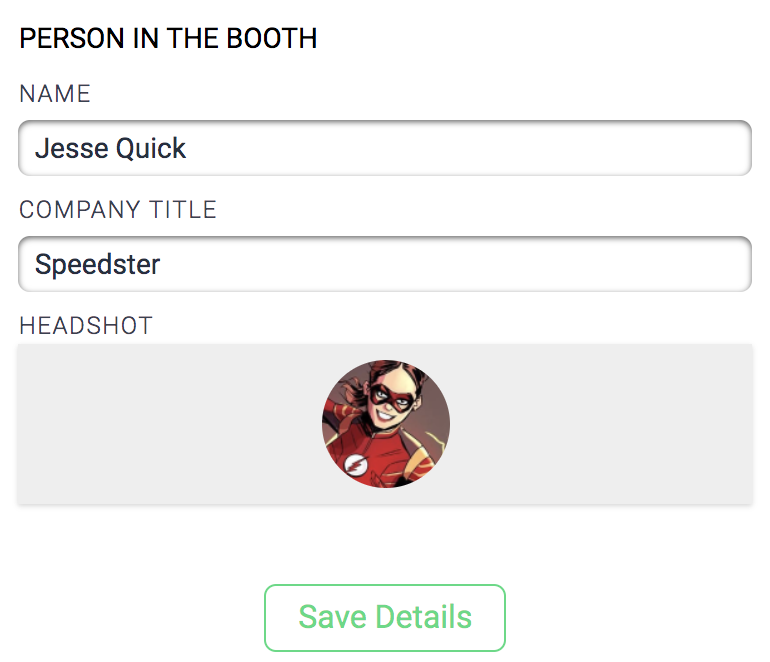
Also scroll down to the "Person in the Booth" section of the sidebar, edit it to the new person, and click Save Details. It is totally fine to do this while the event is live. Nothing will go wrong, you can always edit your booth during the event and it will update appropriately.
Enabling Camera and Microphone Access
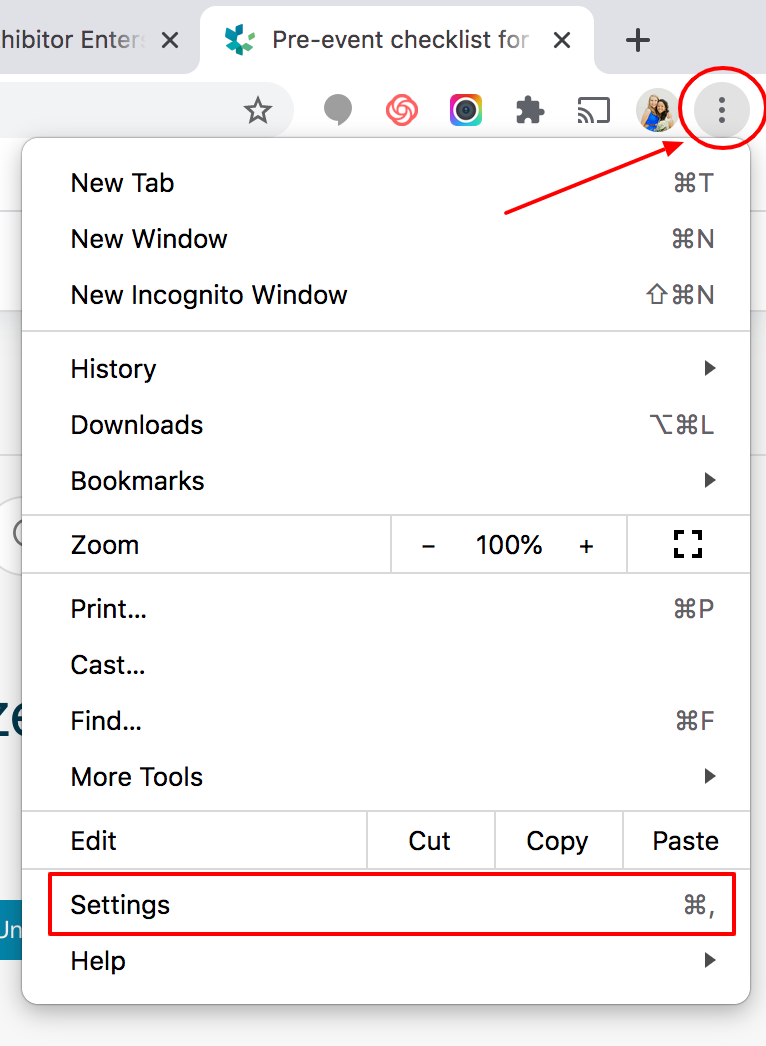
To do this in Chrome, find the three dots (or red circle, if you need to update) in the top right of your browser window. Click this, then click "Settings" at the bottom of the dropdown that appears. From the settings page, select "Privacy and security" on the lefthand menu.
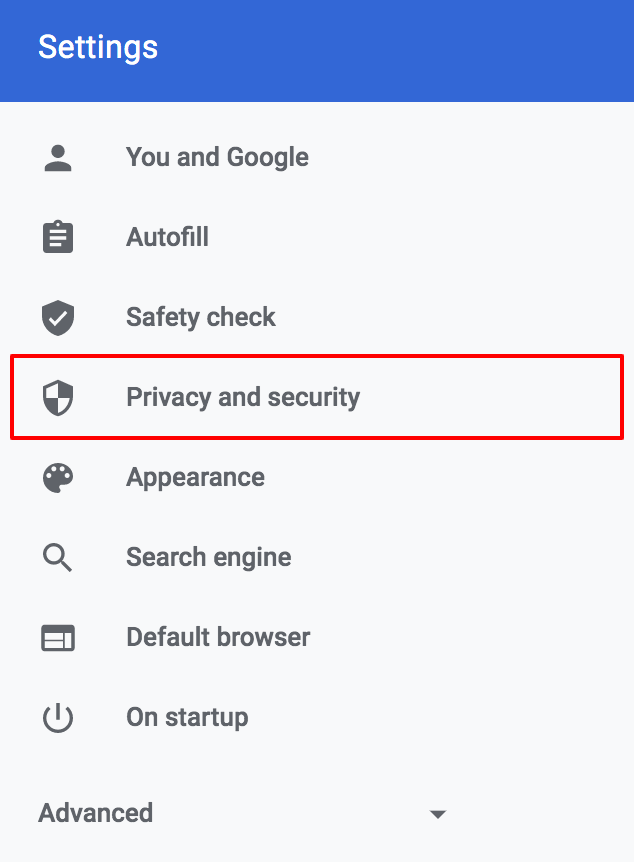
Click on "Site Settings"
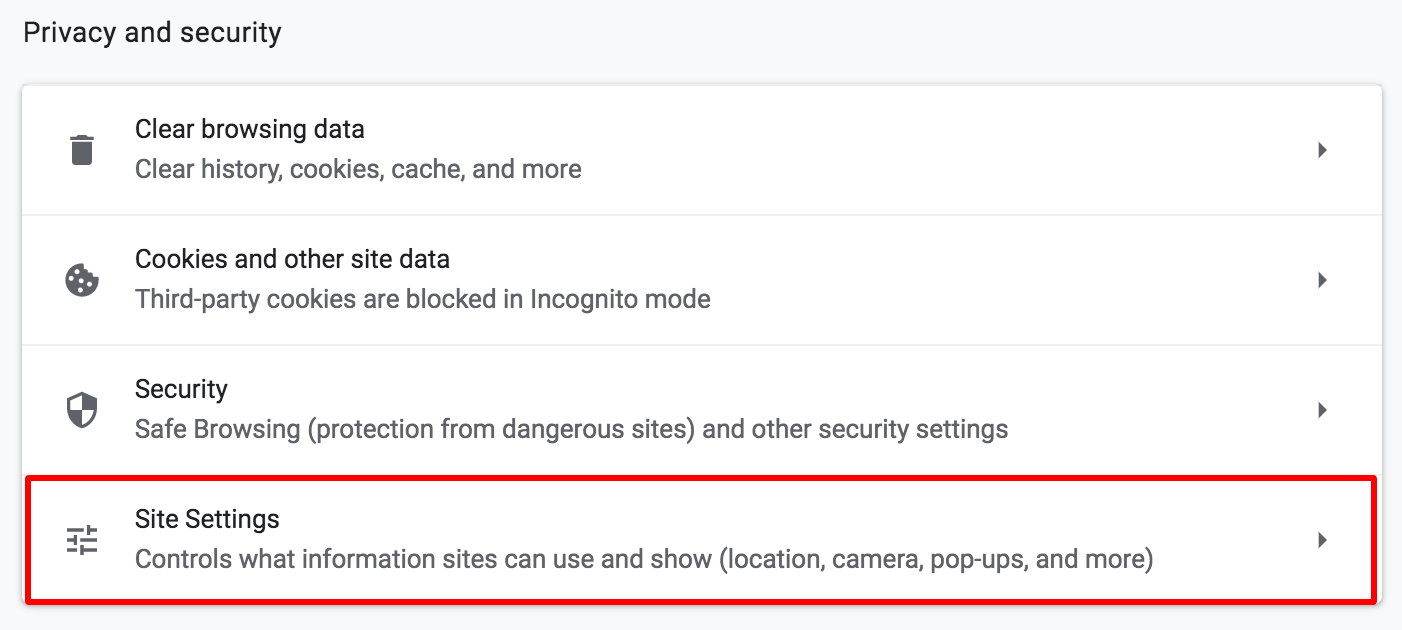
Then scroll down to the "Permissions" section and set camera and microphone to "Ask before accessing."

Return to your EventHub booth webpage. If the video is still not working, simply refresh the page and try to start a video session again. If you're still having issues, try a hard refresh by pressing the keys command-shift-R. If it still doesn't work, please contact us at help@eventhub.net.
For a more detailed guide on how to do this, please CLICK HERE.
Click here to go back to the Virtual Chat Room info
Editing Your Event
- For how to add your booth logo, header image, cover video, and edit description, refer to our guide on Creating Your Virtual Event.
- For info on how to add a pre-recorded video or embed code to your booth, please refer to our guide on How to add a pre-recorded video to your virtual booth.
- Adding Products to your booth
- If you have a Shopify store, please read our article on Integrating Shopify to your Virtual Booth.
- If you do not have Shopify, you can still add Products as Display Items, just uploading your own images and linking to your own urls. For more information, check out our article on How to Add Products to Your Booth. That article also includes information on how to rearrange your Display Items.
Pro tip: always test all the links on your page by clicking on them and seeing if they open the correct page. Do this before the event goes live to make sure everything on your booth page works!
If you need additional support
Please email us at help@eventhub.net with your Booth Name, Event Name, and a description of the problem. We love screenshots!!


Comments
0 comments
Please sign in to leave a comment.