
We've got you covered with a pre-event checklist to ensure you, the event organizer, has all areas covered! **Don't forget to schedule a dress rehearsal with your team and vendors. It is well worth the time!
1. Info Tab:
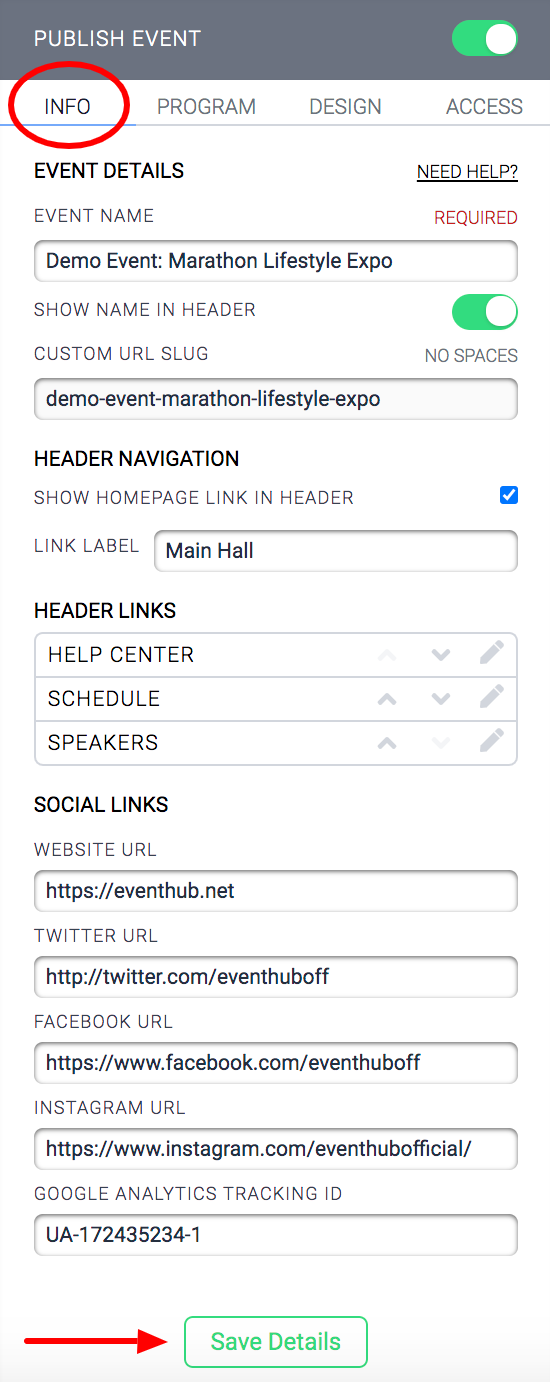
- Add your social links and website url (optional). Double check the links are valid by clicking on the icon for each channel at the very top of the page.
- Don't forget to click Save Details at the bottom of the sidebar every time you make changes!
2. Program Tab:
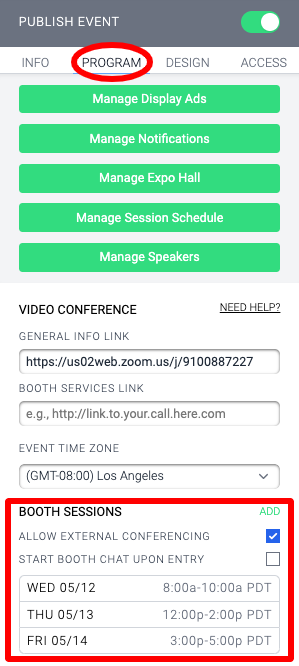
- Double-check the Booth Sessions hours (required if you are going to allow your vendors to use their chat rooms to interact with attendees). Chat rooms for each booth are enabled during the booth session hours. Email your vendors with the booth hours to ensure they are looped in.
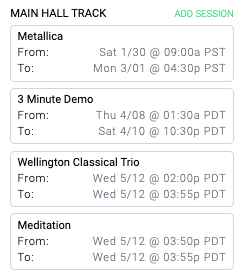
- Main Stage Content - schedule a dress rehearsal with live or prerecorded content.
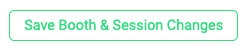
- Don't forget to click Save Booth & Session Changes at the bottom of the sidebar!
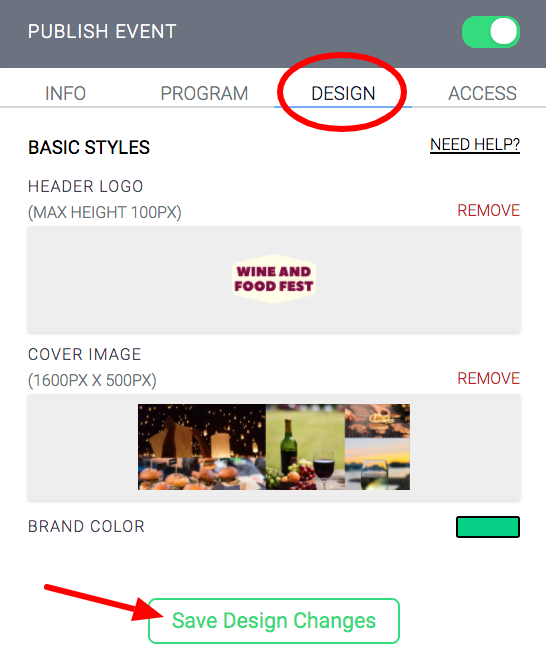
3. Design Tab:
- Upload the Cover Image for your Main Stage and select your brand color theme.
- Don't forget to click Save Design Changes at the bottom of the sidebar!
- Want to upgrade to Advance Styles? For more information, see our guide on How To Upgrade and Use Advanced Styles. Email jamien@eventhub.net to unlock this feature! Packages include
- Replacing "Powered by EventHub" with "Presented By" logo AFTER SELLING THE PLACEMENT. Upgrade for $500
Customization Package: Advanced custom coloring, fonts, white label domain, and Presented By logo swap: Upgrade for $1,300
Full CSS access for complete customization Upgrade for $1,000* (*Customization Package required)
- Replacing "Powered by EventHub" with "Presented By" logo AFTER SELLING THE PLACEMENT. Upgrade for $500
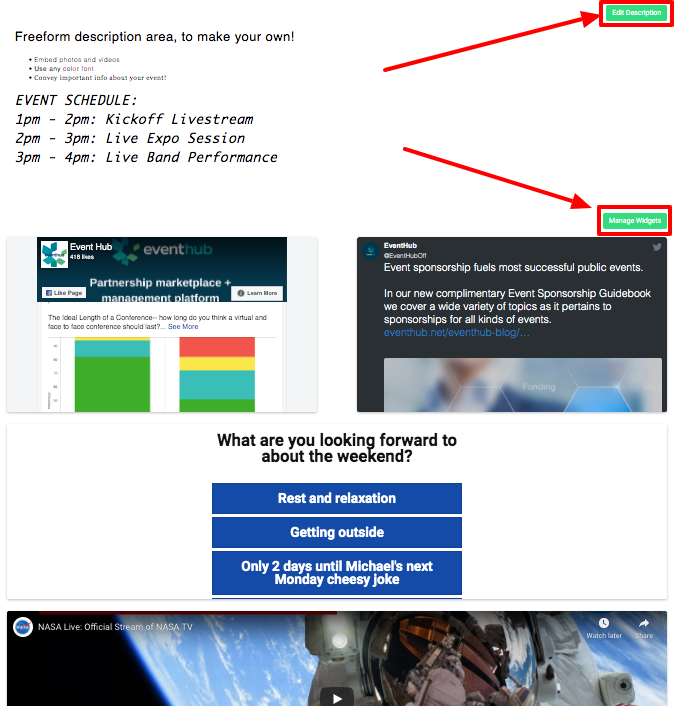
4. Main Stage:
- Include an event description for your attendees in the Edit Description section. For example, the schedule and how to get the best experience from your virtual event.
- Add videos, custom embed code, or live social media feeds in the Manage Widgets section. Optional, use as desired.
- For more info on adding live social media feeds, please click here.
- For more info on adding videos, please click here.
- For more info on adding custom iFrame embed code, please click here.
5. Expo Hall:
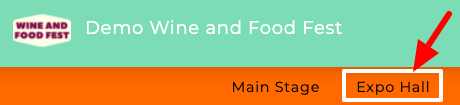
- Publish the pending virtual booths: Keep publishing the virtual booths as they get completed.
- Make sure all booths have a preview image and look great on the Expo Hall!
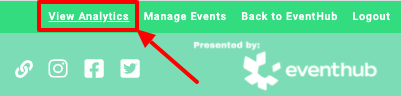
6. Analytics:
- We have our own built-in Analytics Dashboard that will start reporting in real-time as soon as your event goes live. Access the dashboard at the top of your page in the same header bar that has Edit Mode. Here, you will see View Analytics over on the right by Logout. Click this button to be taken to our built-in Analytics Dashboard! For more information, please refer to our guide on the dashboard: CLICK HERE.
- Google Analytics: This is completely optional, as we already have our own Analytics Dashboard. If you are going to use this feature, you need access to your Google Analytics account to create a tracking ID. Reminder: use the public link for your event when creating the tracking ID. Tutorial for reference HERE.
Want a look at how your vendors are getting setup?
Take a look at our Pre-event Checklist for them and their virtual booths HERE.
Comments
0 comments
Please sign in to leave a comment.