Like a Booth at an in-person conference, you have the ability to add Products you're selling to your Booth page, with links directly to your digital storefront for attendees to purchase!
Click on the following section titles to jump to those topics, or continue reading below.
- Create a New Display Item
- Reorder Display Items
- Edit Display Items
- Delete Display Items
- Filtering Display Items in Your Booth
Start by navigating to the main page of your virtual booth, where you’ll find yourself in “Edit Mode.” Not sure how to get to the main page of your booth? Click here to read more. In edit mode, you’ll be able to make any changes to your booth, including any edits you wish to make to your display items.
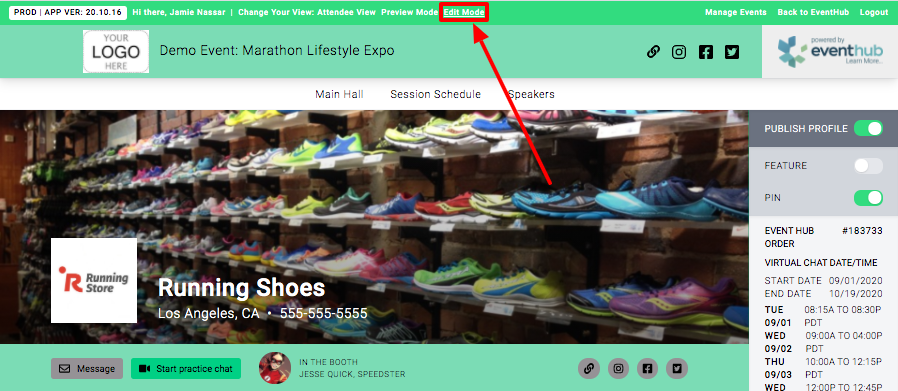
Scroll down below the Booth Description in the middle of the page and find the Display Item Section. If you haven't added any, you can get started by clicking the "Manage Display Items" button.
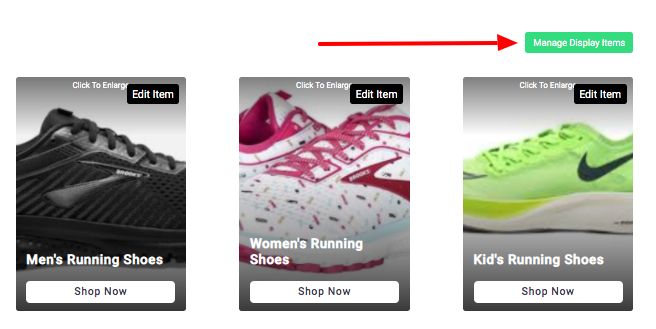
This will take you to a place to add new items, or manage ones you've already added.
Create New Display Item
The top of the page will look like this. Click the "Create Display Item" button to add a new one.

This will pop up an editing view.
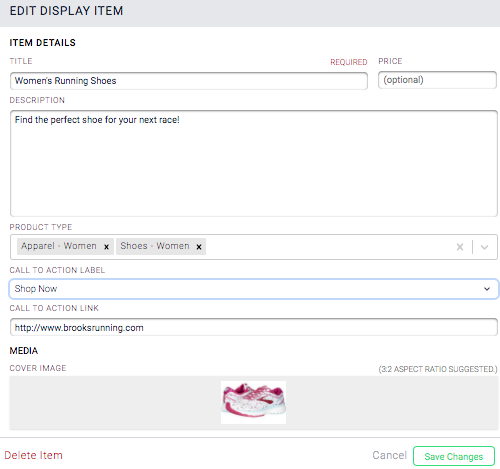
Edit all of the components of the item, including the photo, title, description, product link, etc. as desired. Note: Make sure to click the “Save Changes” button in the bottom right of the pop up when you’re finished making edits.
- Choose a title for your item, and you can also input a price to be shown with the display item.
- Enter a description for your item. Product description explains what the product is and why it's worth purchasing. The purpose of a product description is to supply customers with important information about the features and benefits of the product so they're compelled to buy.
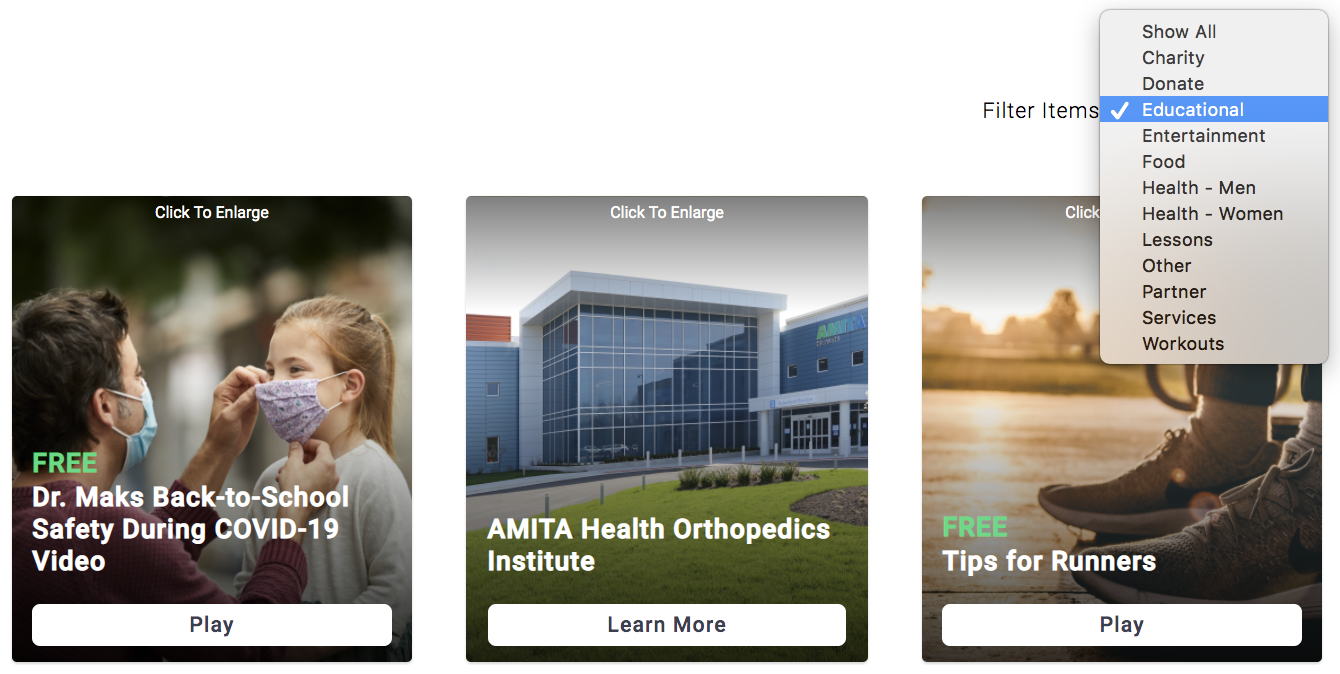
- Pick tags that apply to your product. These tags act as categories and will affect how they are filtered and how attendees can find your virtual booth. They are used in both the Filter dropdown on your booth page to pull up the relevant Display Items, as well as on the Main Stage page to pull up your booth if it contains a Display Item with the relevant tag.
- The Call to Action Label is what you want viewers of your booth to click on when they see your item. You can choose from a few options: "Buy Now", "Shop Now", "Order Now", "Learn More", "Read More", "Donate", "Enter Giveaway", "Download" or "Play". Choose whichever one you prefer or the one that will fit your display item the most!
- Insert your link to your product in the Call to Action Link. This link is the location where viewers will be redirected to when they click on the label.
- This is where you can link directly to a purchase page, whether that's on a platform like Etsy, Facebook Marketplace, Amazon, etc. Then, when attendees click your button, they'll be taken directly to the page where they can purchase!
- If it's a Google Drive link, Make sure to click into Attendee Mode and validate the links are working and permission to view is granted to guest.
- Lastly, add a cover image of your item to draw in the attention of your customers!
- Preferred ratio: 3:2, meaning the height is greater than the width.
- Acceptable formats: jpeg, jpg and png.
Once you click the "Save Changes" button in the bottom right, you'll be back on the Manage Display Items view, where you can see the item you just added (along with your other items). You can continue to add by clicking "Create Display Item" again, or you can exit out of this view back to your main booth page by selecting "Save Display Item Changes."
Pro tip: Always test all the links on your page by clicking on them and seeing if they open the correct page. Do this before the event goes live to make sure everything on your booth page works!
Reordering Your Display Items
Once you've added a few Display Items, you might want to change the order of how they appear on your page. To do this, click the "Manage Display Items" button from your booth page. 
This will open up the "Manage Display Items" view. The way the items are listed here is how they're displayed on your booth. The one at the top is first, the next, etc. You can see that next to each item you've added, there are several arrows.

- The double up arrow moves the item to the top of the page, jumping it to the first display position on your booth.
- The single up arrow just moves the Display Item one row above, meaning it'll move just one up on your position.
- The single down arrow move the Display Item one row down, so just one position to the end of your items on your booth.
- The double up arrow moves the item to the bottom of the page, jumping it all the way to the last Display Item to show at the bottom of your booth page.
Make sure to click the "Save Display Item Changes" button when you're done editing! And then you can see the Display Items reordered on your booth page.
Editing a Display Item from Booth page
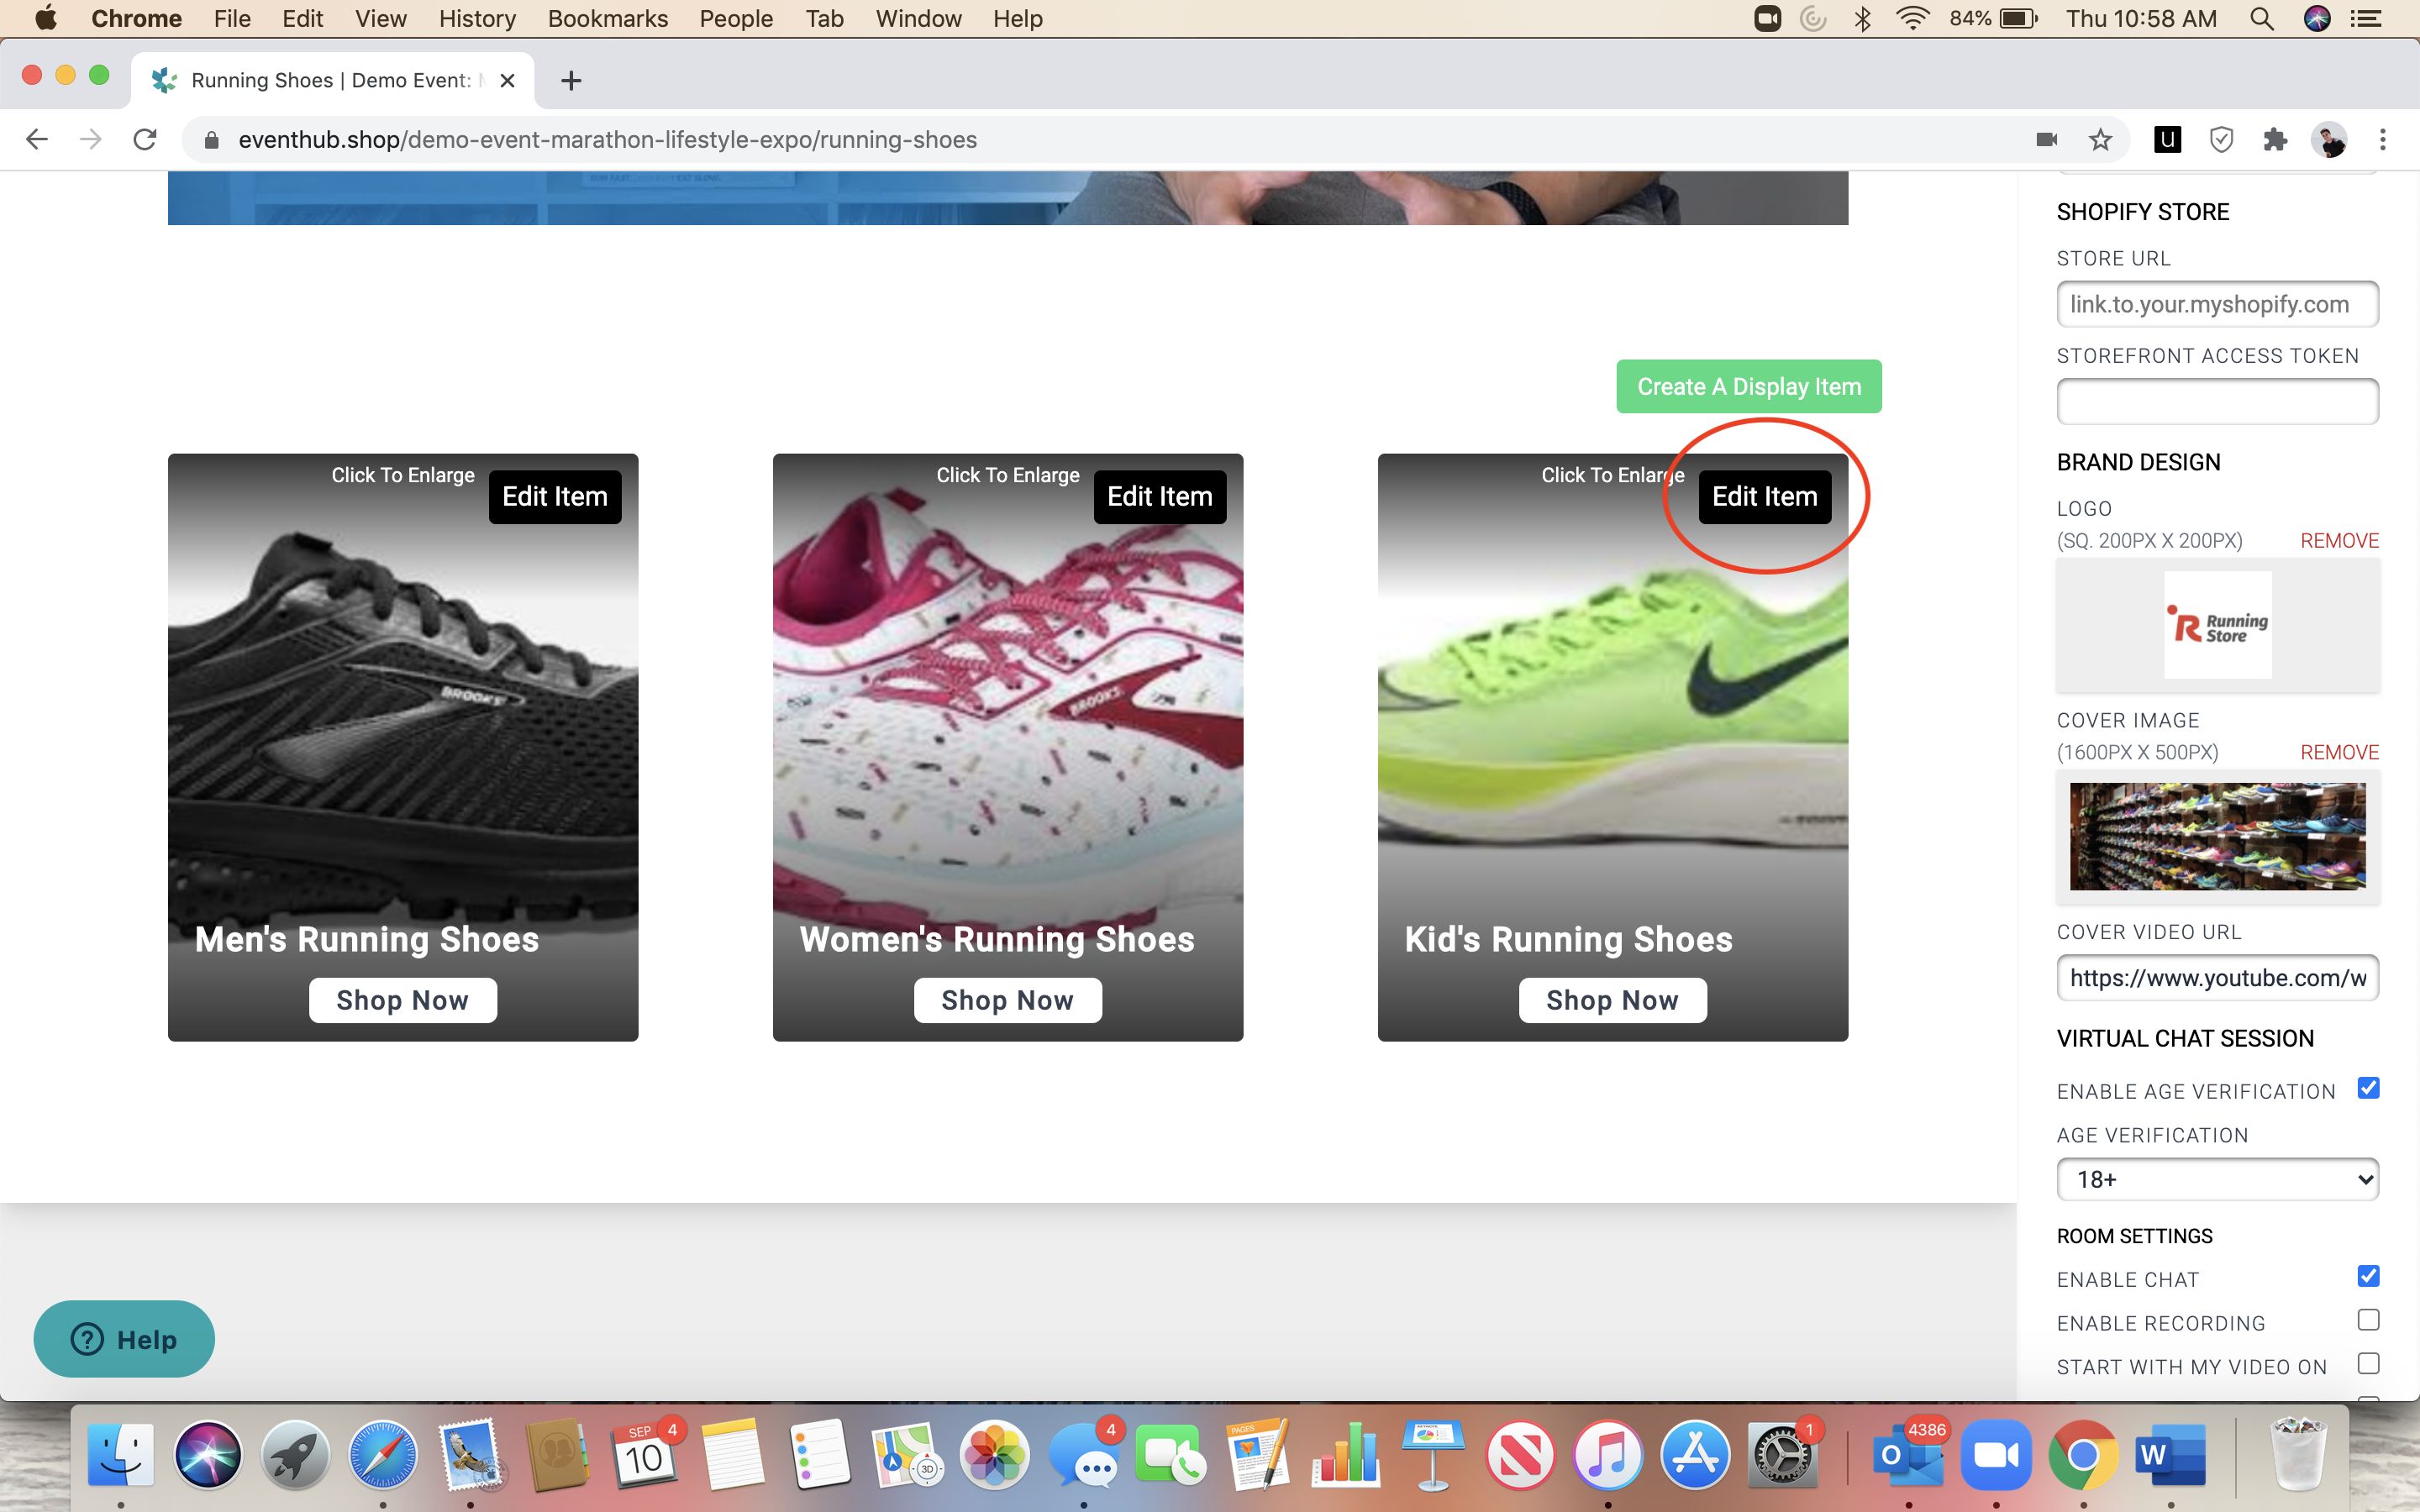
If you want to edit an item that you've already added from your Booth page, you can do that by clicking the "Edit Item" button right on that image.
Deleting a Display Item
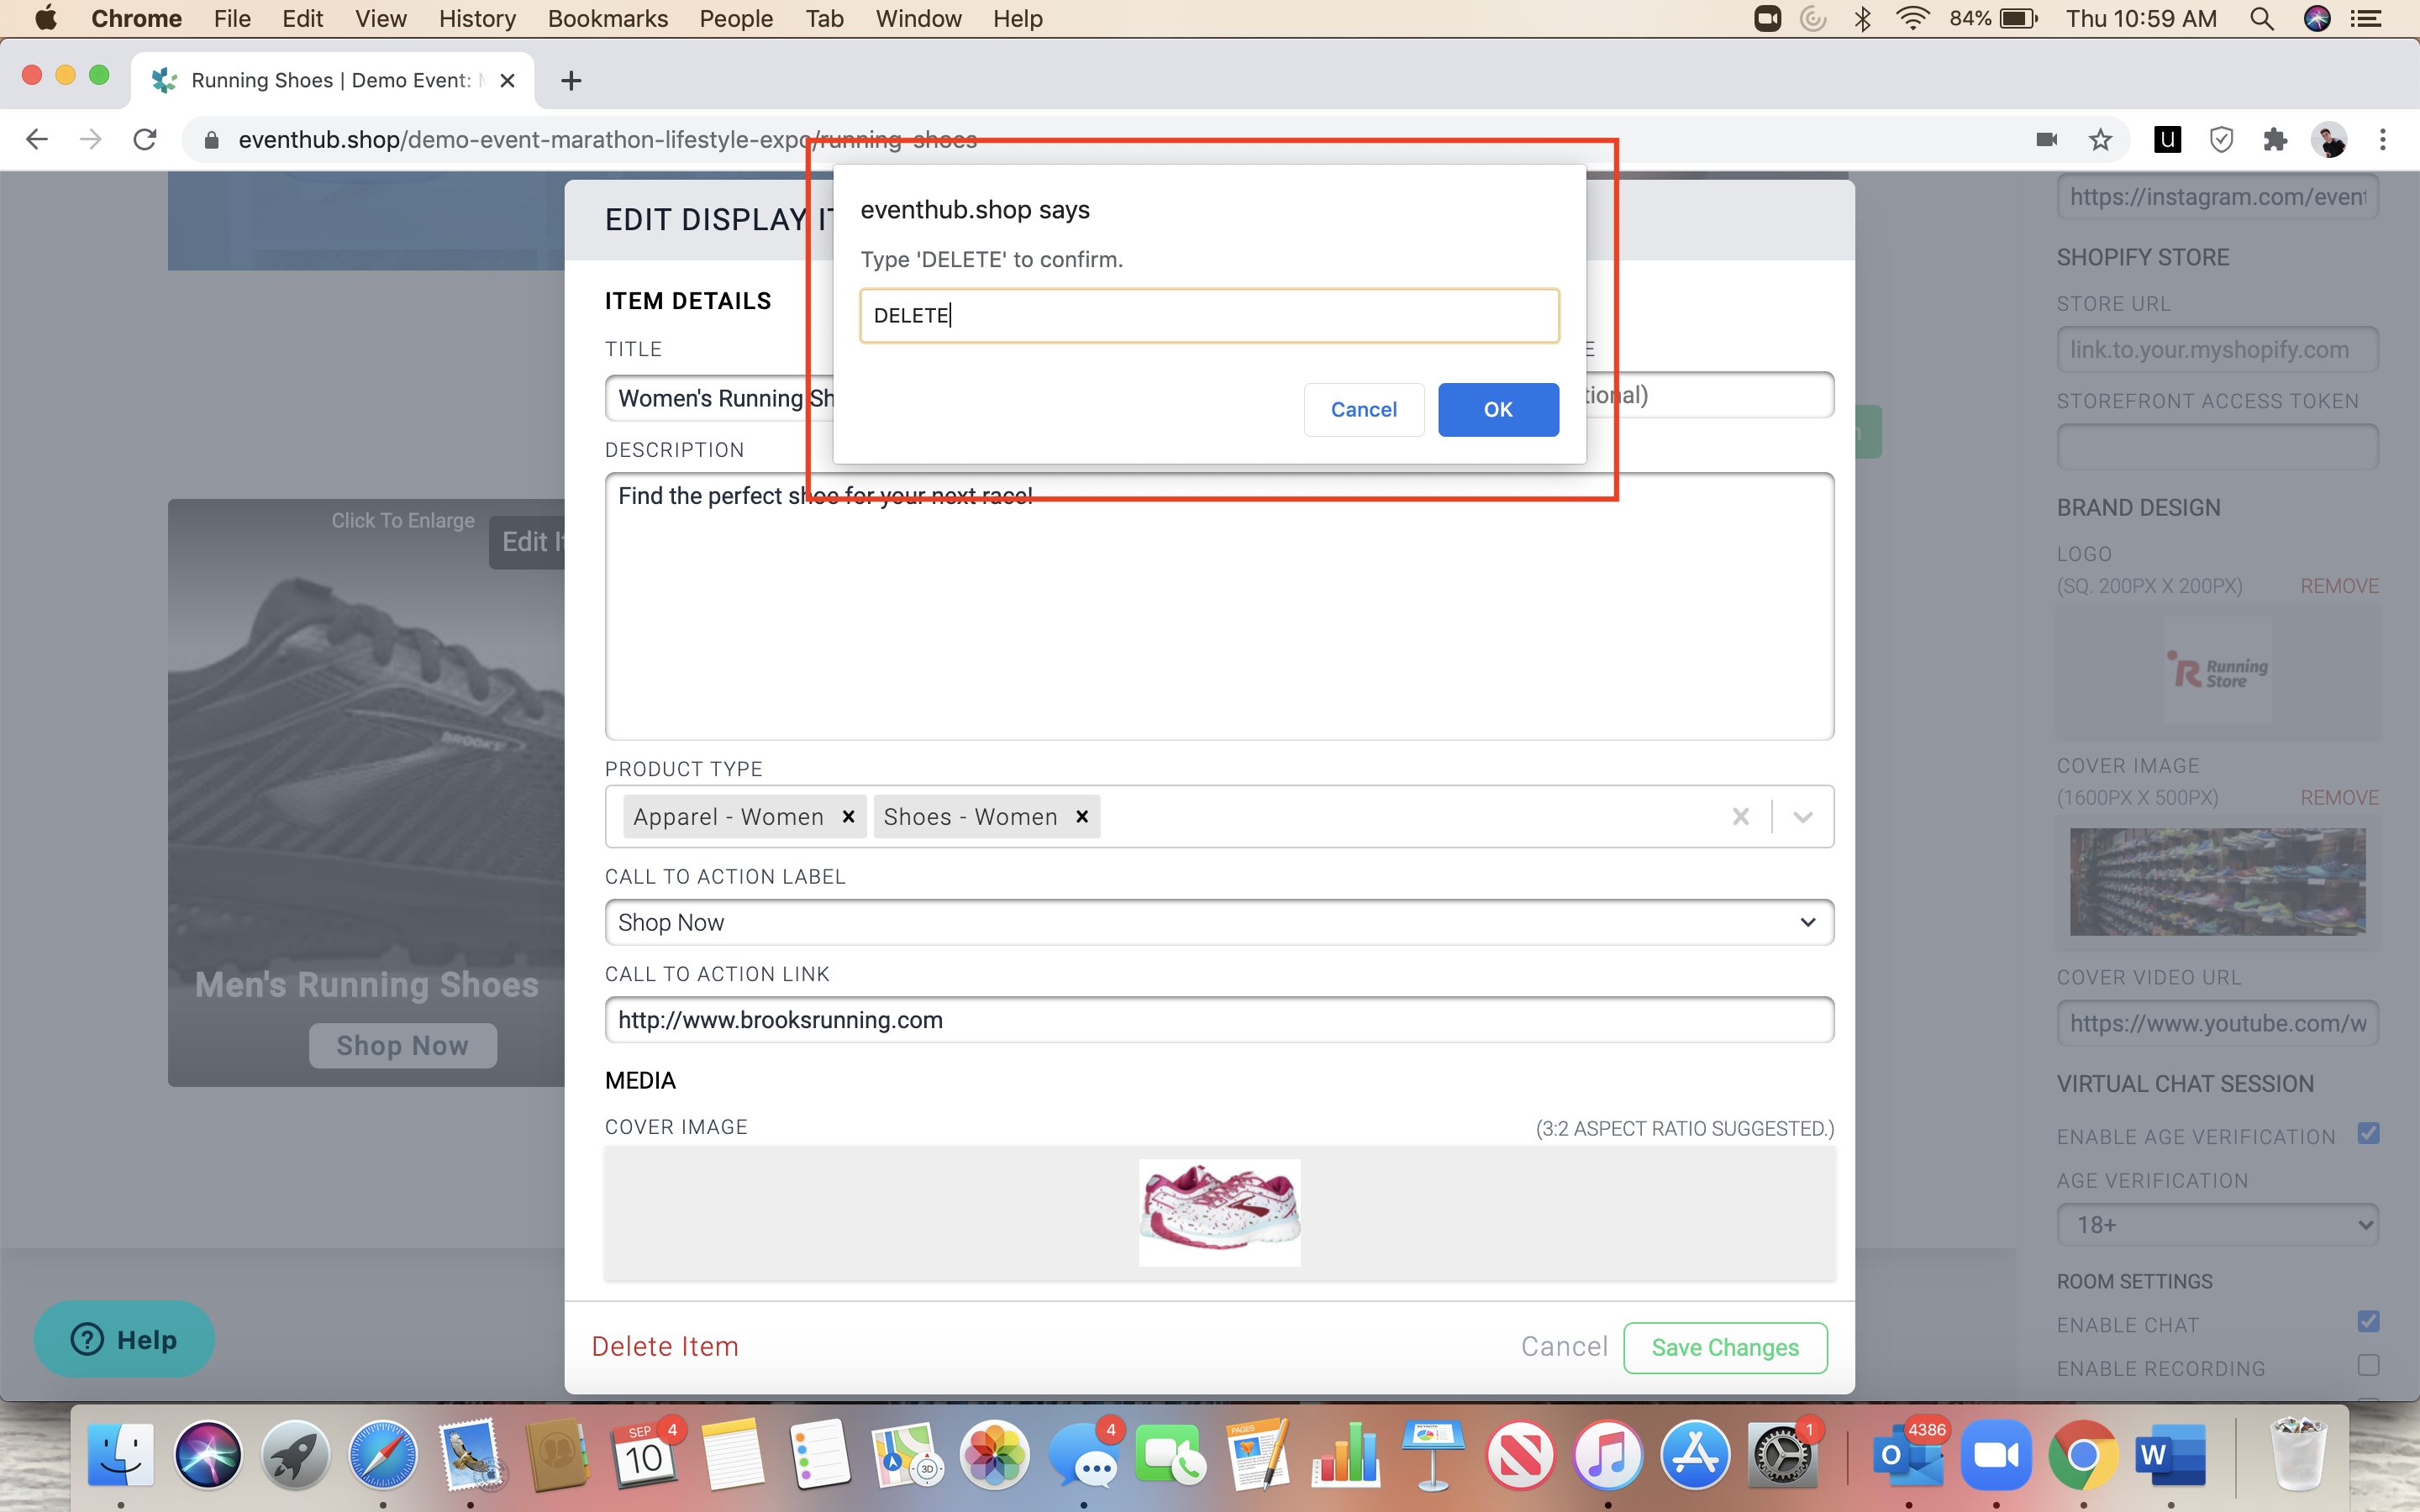
If you would like to delete an item, click the "Delete Item" button. You’ll be prompted to type “DELETE” in all caps. Click “OK” and your item should no longer appear in your booth.
Don’t be scared to make changes! You can always go back and edit the display item as many times as you want before the event or during the event.
Filtering Display Items in Your Booth
Once finished, attendees visiting your booth will be able to view your products/services and filter based on their interest. These filters come from the tags you've chosen to apply to your Display Items. For example, anything with the tag "Educational" will appear in the screenshot of this booth:


Comments
0 comments
Please sign in to leave a comment.