| Table of Contents |
Search for Events on EventHubEvent MarketplaceAdd Items to Your CartCheck Out - Step 1: Shopping CartCheck Out - Step 2: Booth ProfileCheck Out - Step 3: Order Summary |
If you haven't signed up for your FREE exhibitor/vendor account yet, click here for instructions!
Search for Events on EventHub
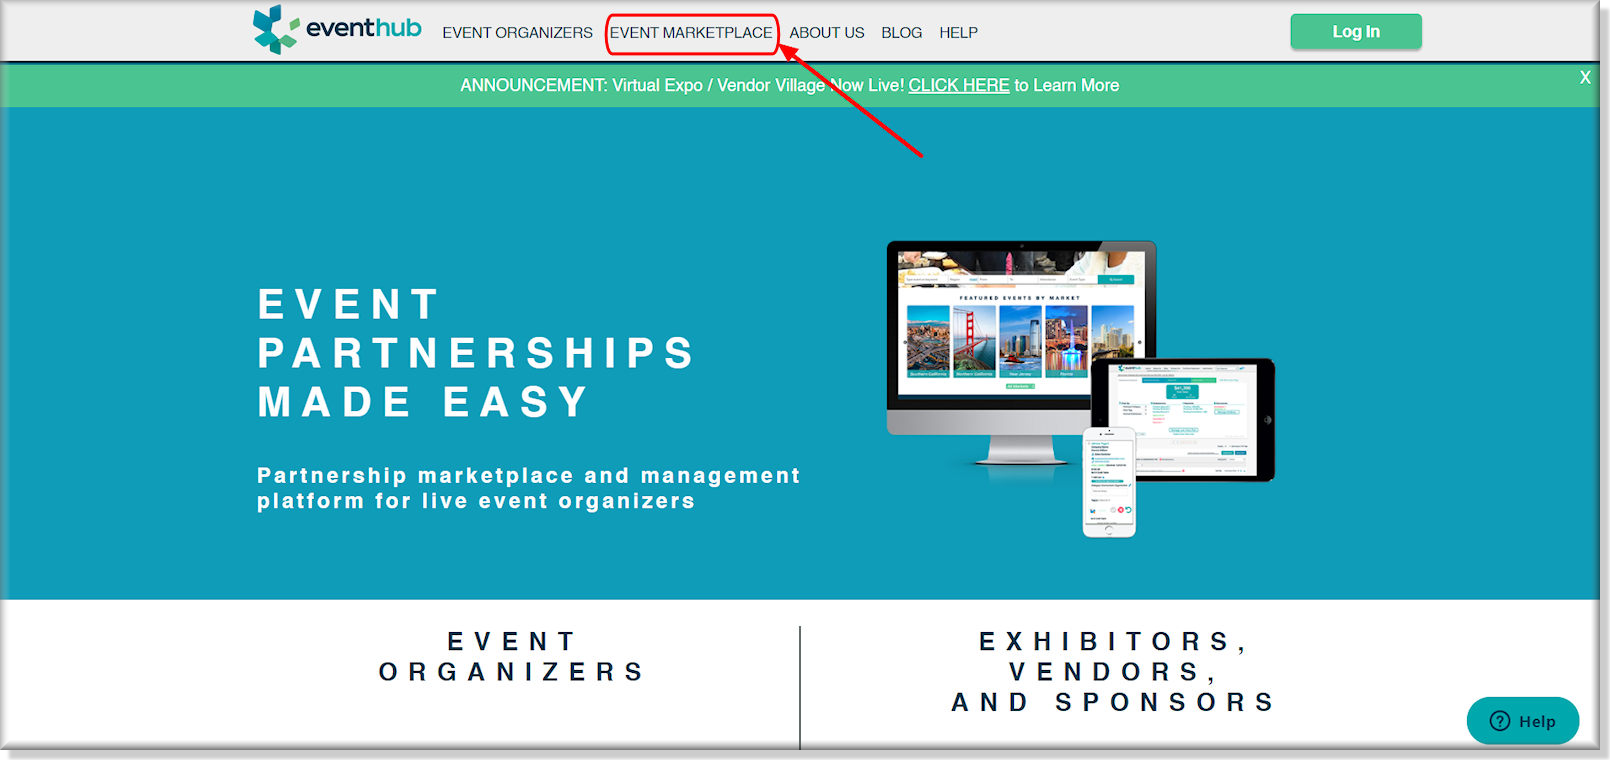
To search for events in our marketplace, go to eventhub.net and click "Event Marketplace" from the menu bar.
Event Marketplace
The Event Marketplace page allows you to search for current trends by using the search bar or setting your preferences with the filter tool. The top half of the page shows events trending in the marketplace, and the bottom half contains the search bar and filter bar for all events.
Trending In The Marketplace

At the top of the event marketplace page, you will find "top trending events", "featured events", and "trending event types".
1. Top Trending Events
Top Trending Events displays popular upcoming events exhibitors can sign up for. To learn more about each event, select its associated image to be taken to the event's description page, where you can learn more or sign up.
2. Featured Events
Selecting any of the Featured Events will show you a filtered list of events featured. You can narrow down these results even further by using the filter options on the left sign of the page.
3. Trending Event Types
Trending Event Types will show popular events sorted by their type, allowing you to view events catering to a specific audience.
Events Search and Filters

Scrolling past the Trending Marketplace section will display the Search Bar for Filters tools section.
1. Events Search Bar
In the middle of the Events Marketplace page, the events search bar allows you to search for events by name or keywords.

2. Filters BarThe filters bar is a powerful tool that allows you to sort your search results using a variety of parameters, including:
|
 |
2. Search Results
Scroll down to view your search results. click into the events/venues section you are interested in!

Add Items to Your Cart
Once you've found an event you wish to apply to, you'll notice an Opportunities/Register Now box on the left side of the Showcase Page:
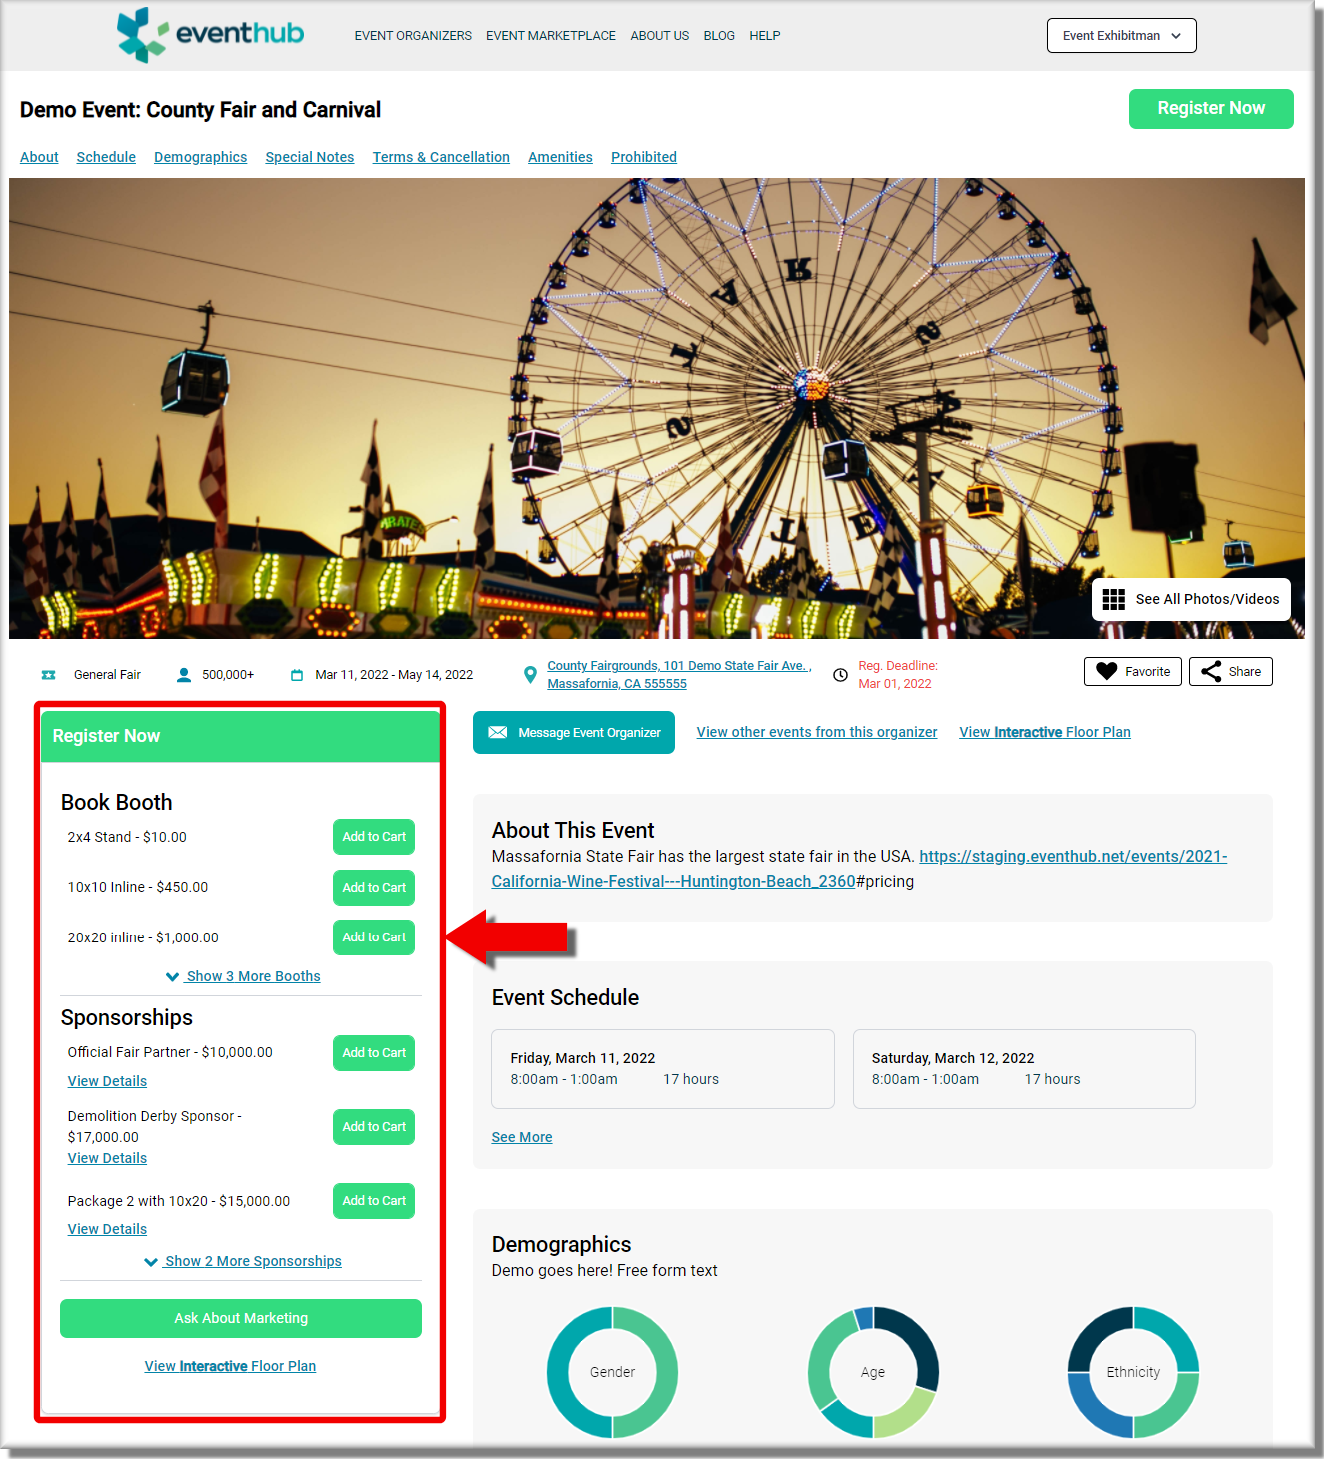
The Opportunities box allows you to add booth spaces, sponsorships, and advertising options to your order, or ask about available sponsorships and advertising:
|
 |
|
 |
|
 |
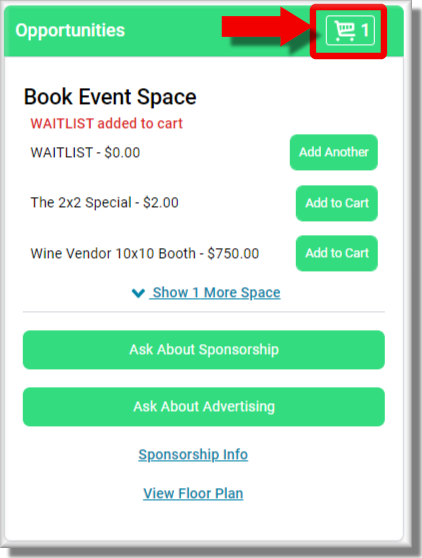
Once you've added some items to your cart, select the Cart Check-Out icon located in the upper right corner of the window.
Checkout - Step 1: Shopping Cart
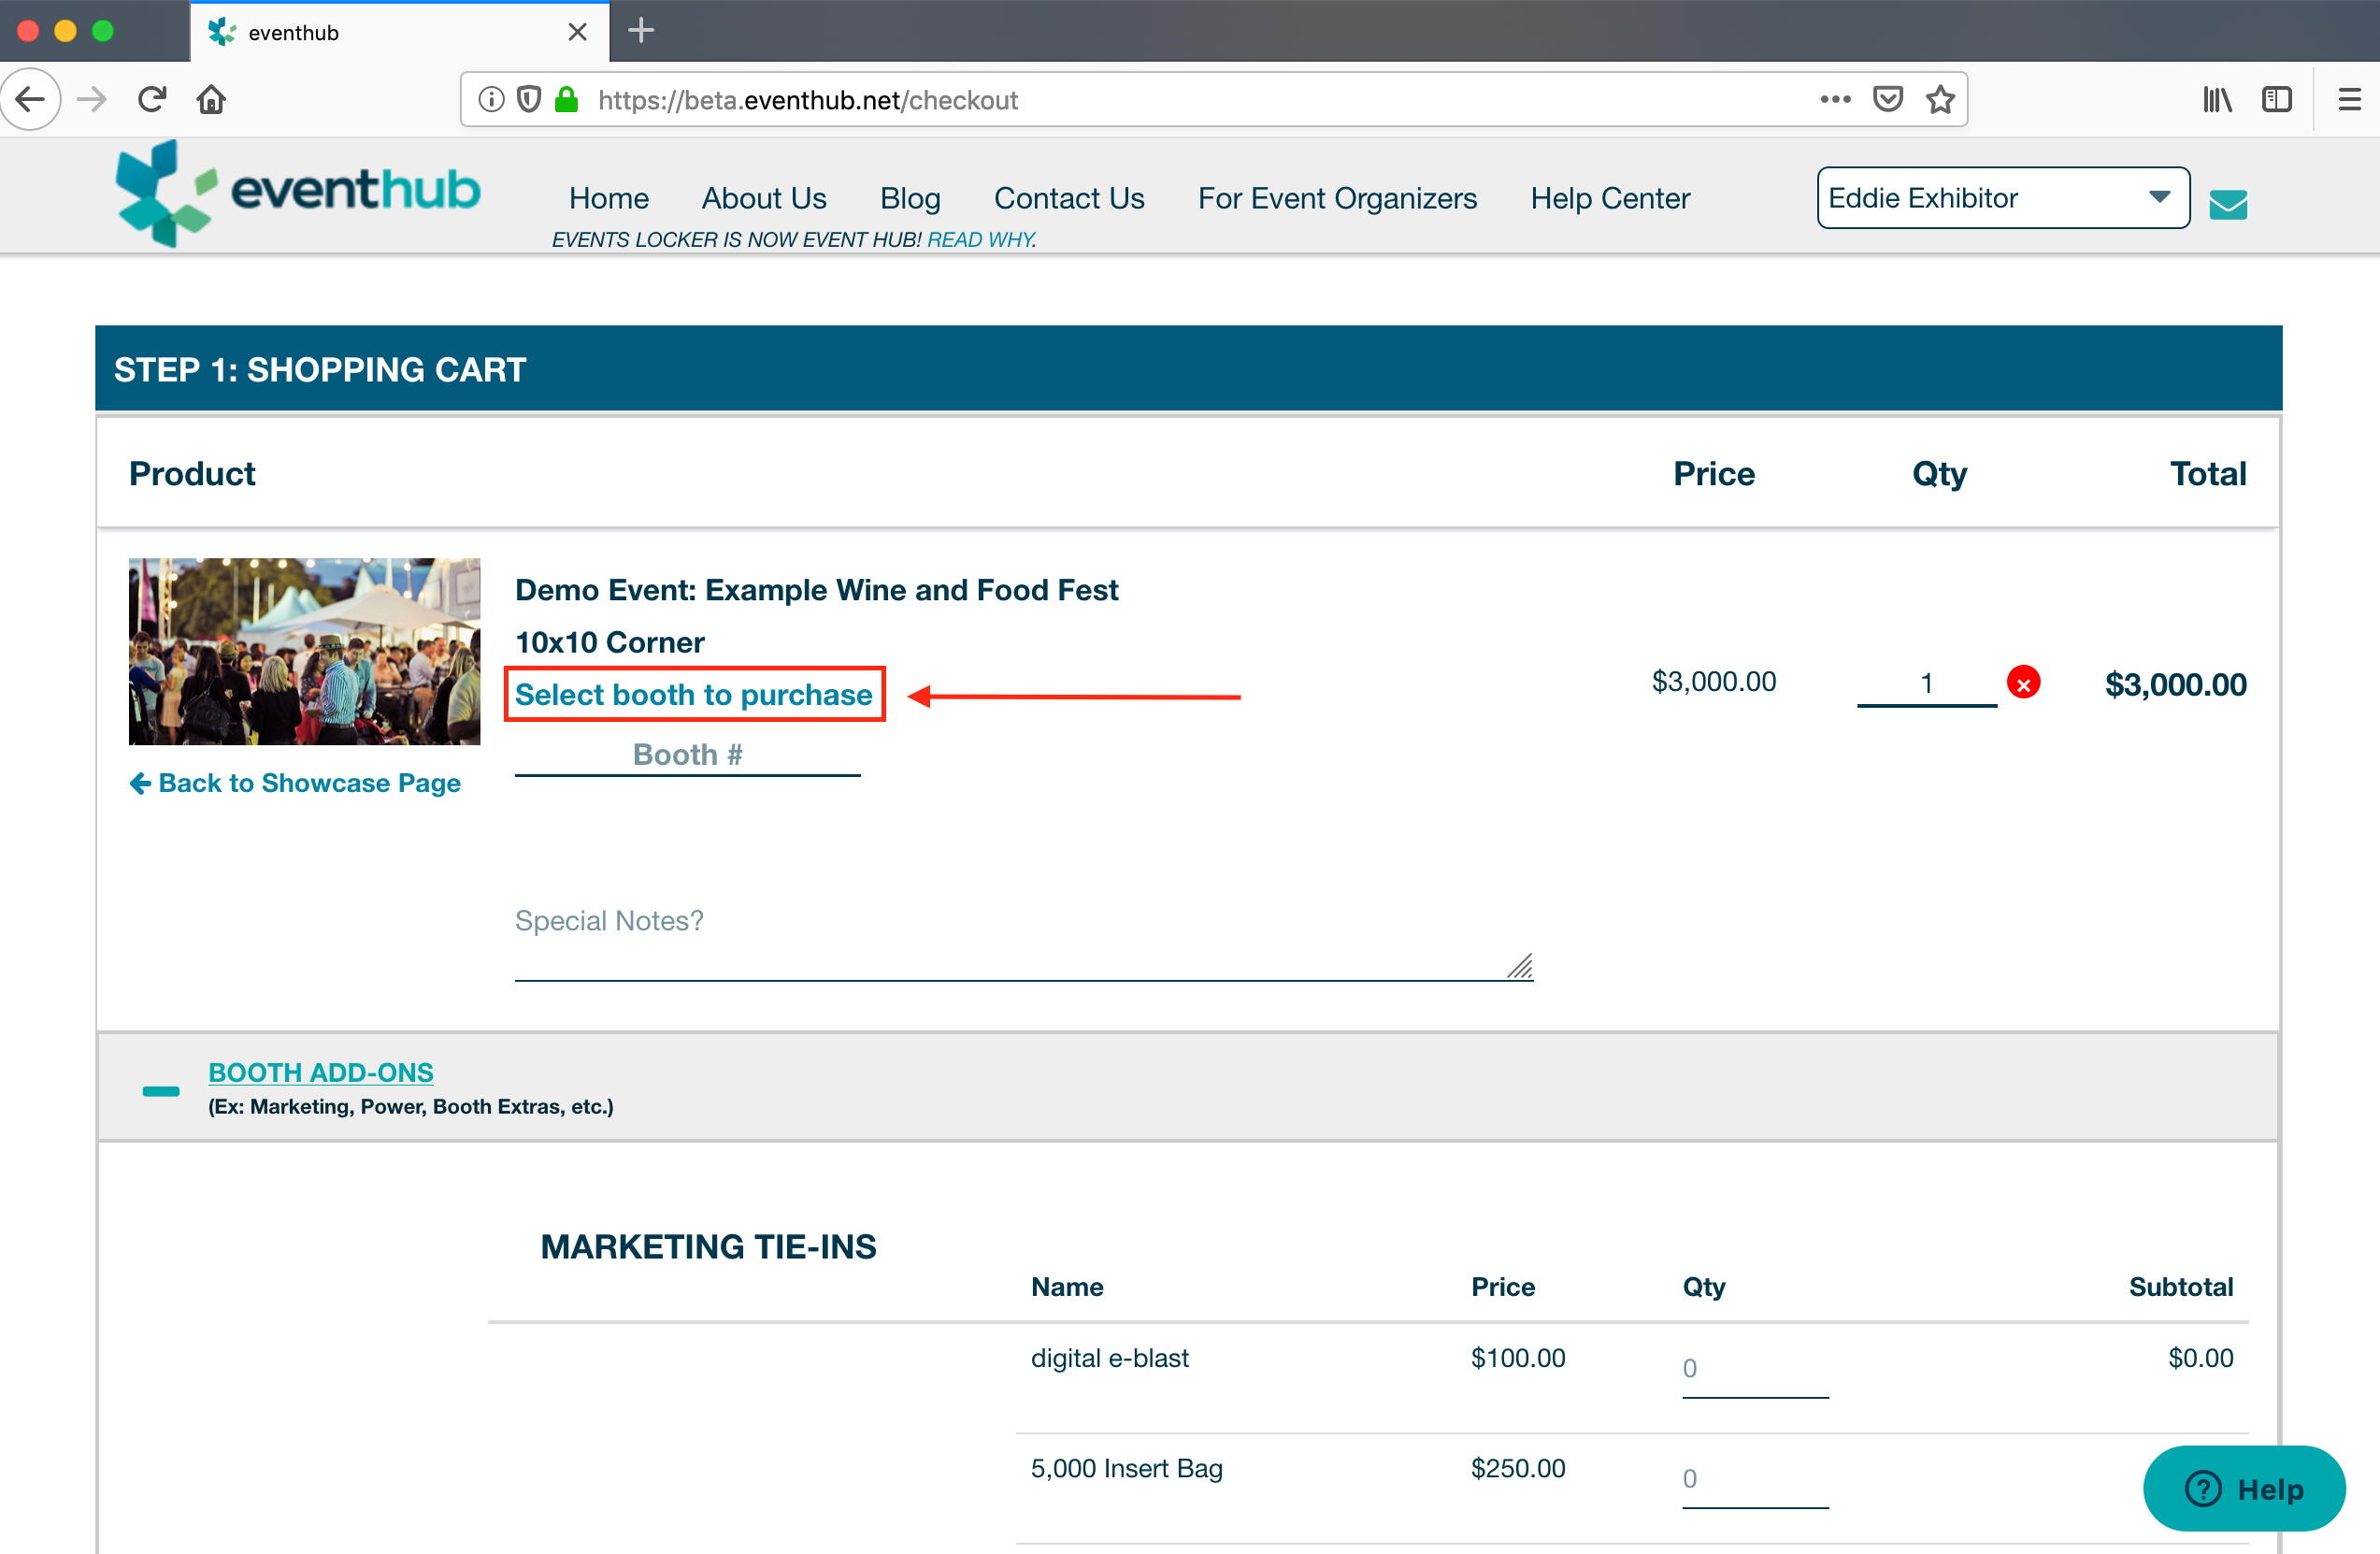
If this event has a live floor plan, you will be requested to do one of the two actions (*if the event does not have a live floor plan, skip this portion):
- A. "Select Booth to Purchase" means you assign yourself to a booth space that matches the item in your cart. Then, select the link to view the map and make your selection.
- B: “Select booth preferences from live floor plan” link to view the map and select your three preferred spaces
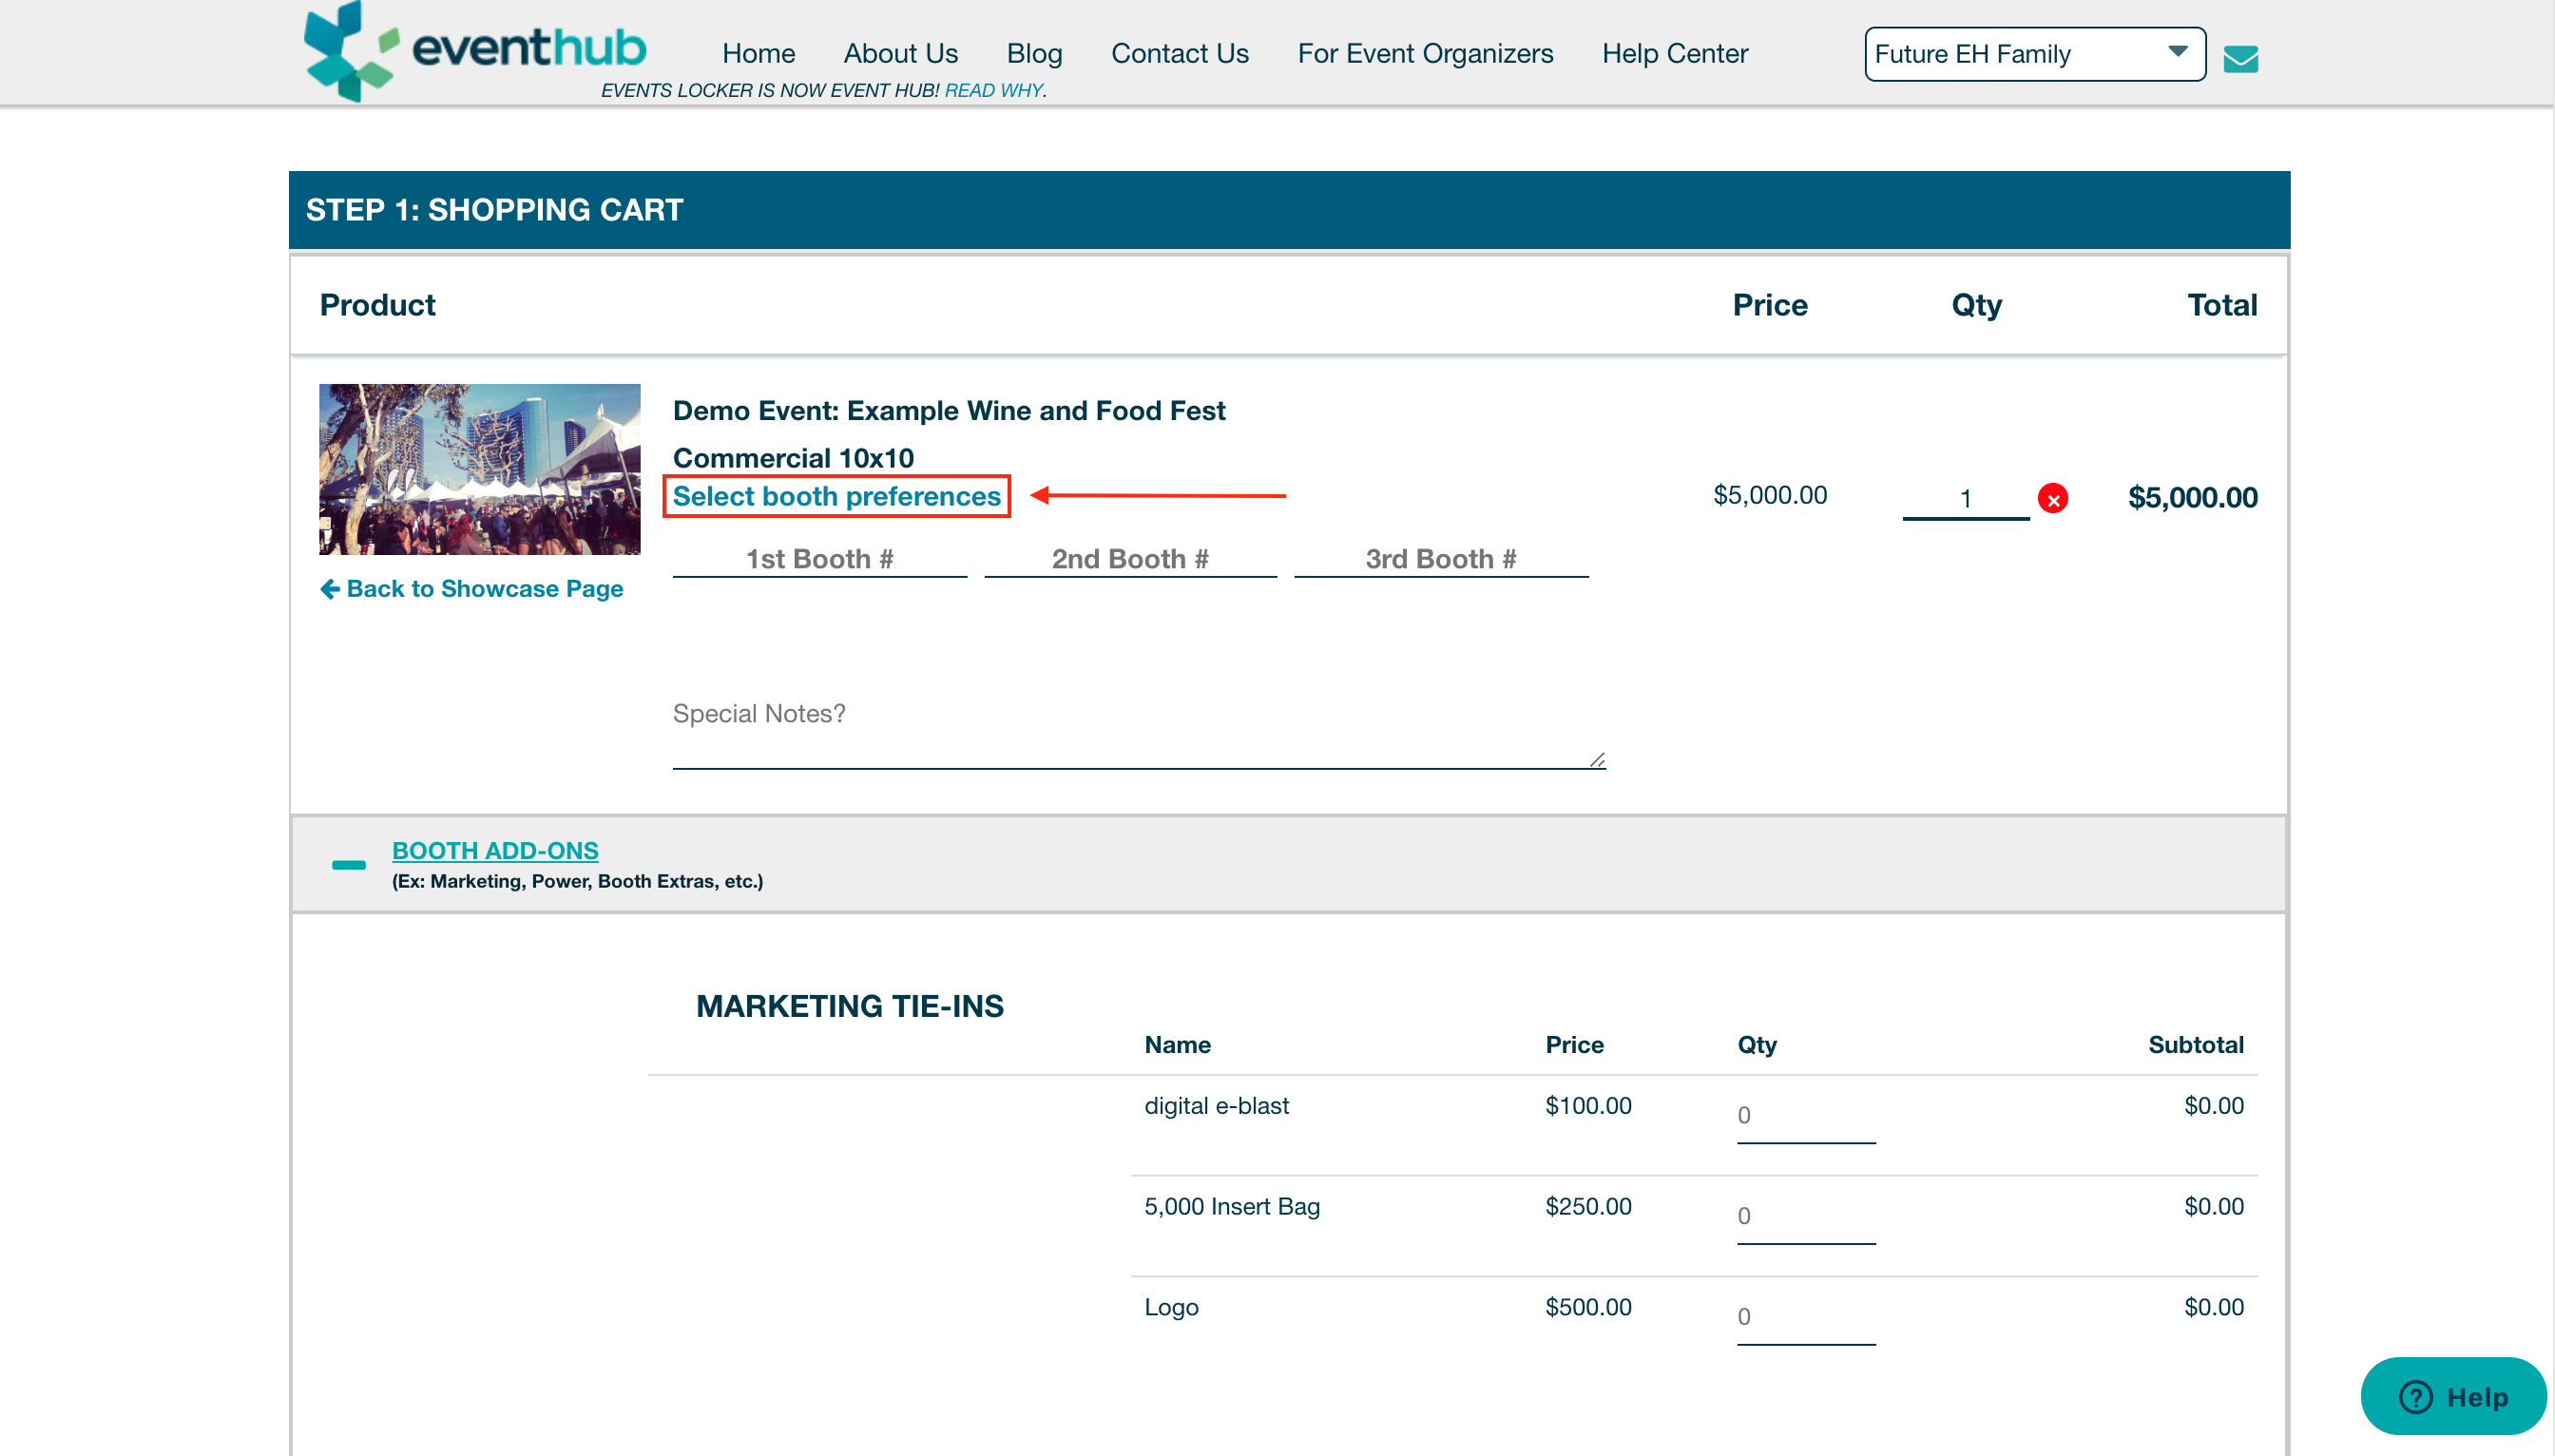
- Select an available space. After each successful selection, you will see a “Success!” prompt appear. Select the “OK” button to continue.
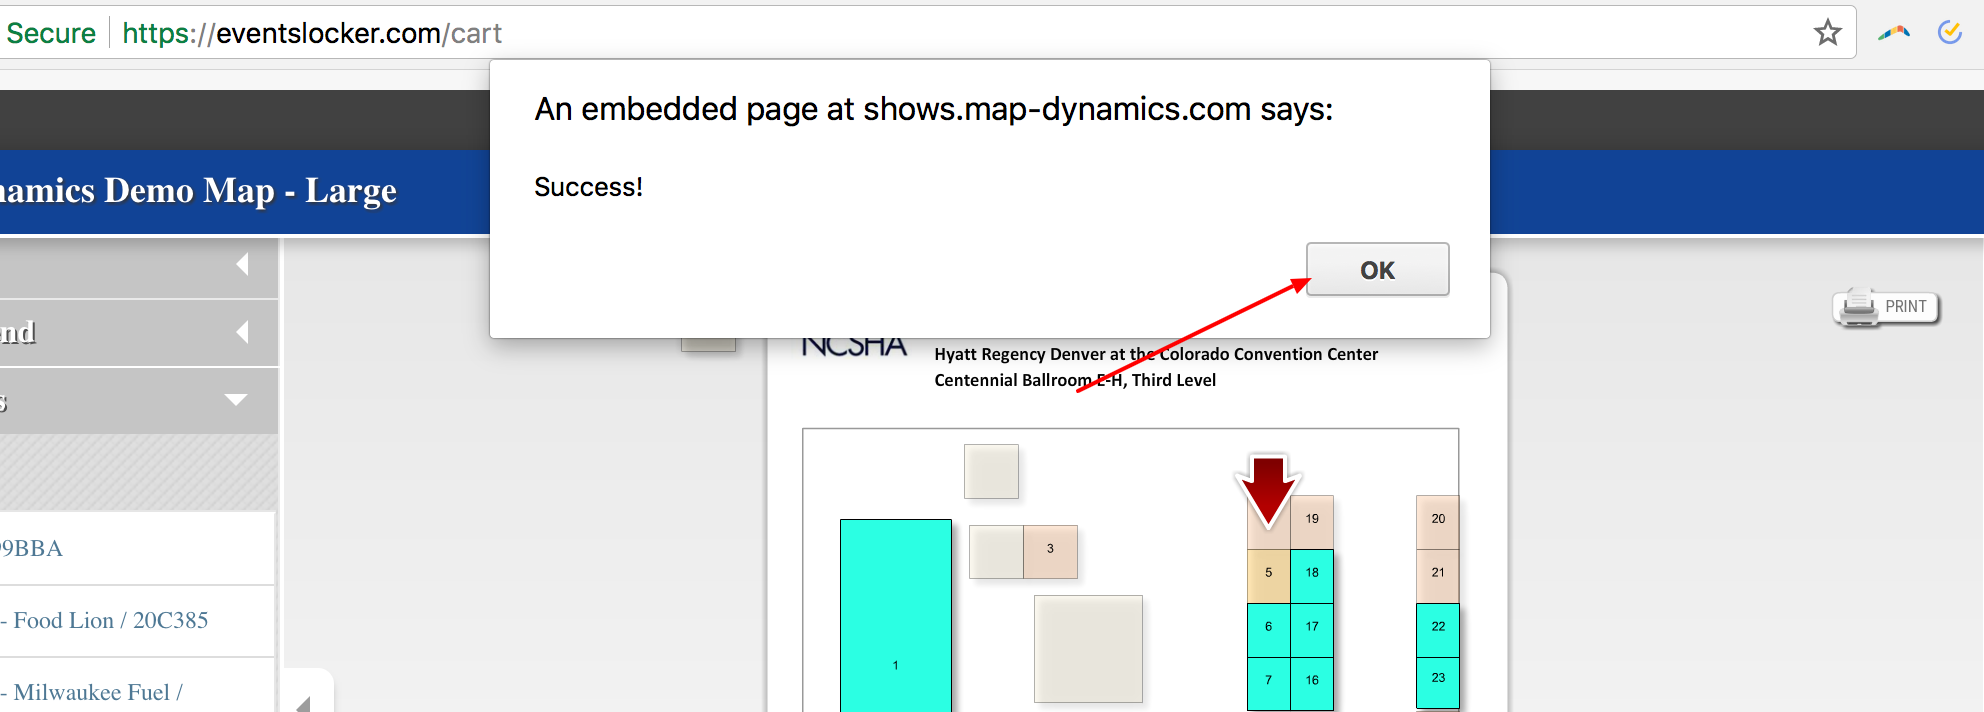
- After selecting three booth choices, select the “X” at the top right of the floor plan to close it, and wait a few seconds until your booth choice(s) populate in the field at checkout.
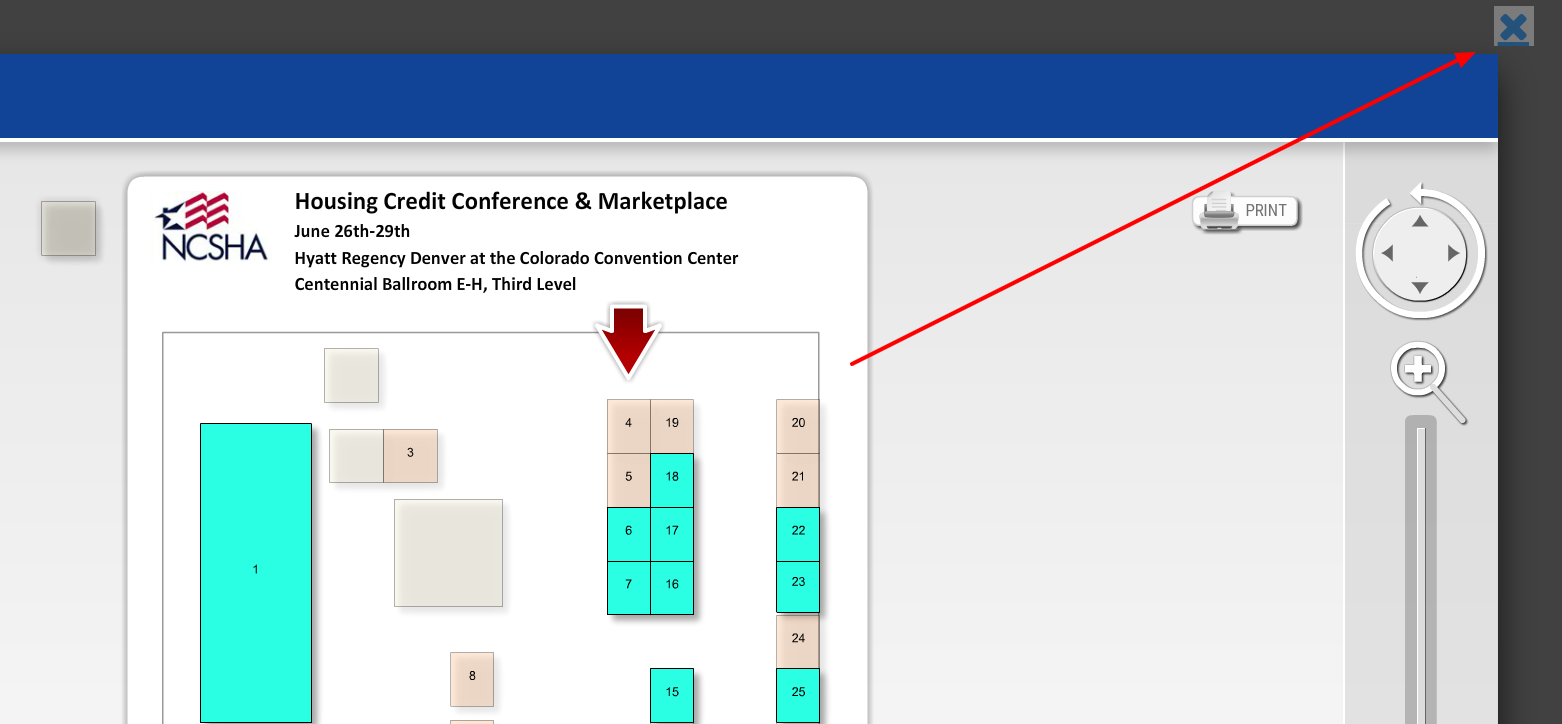
Booth Add-Ons
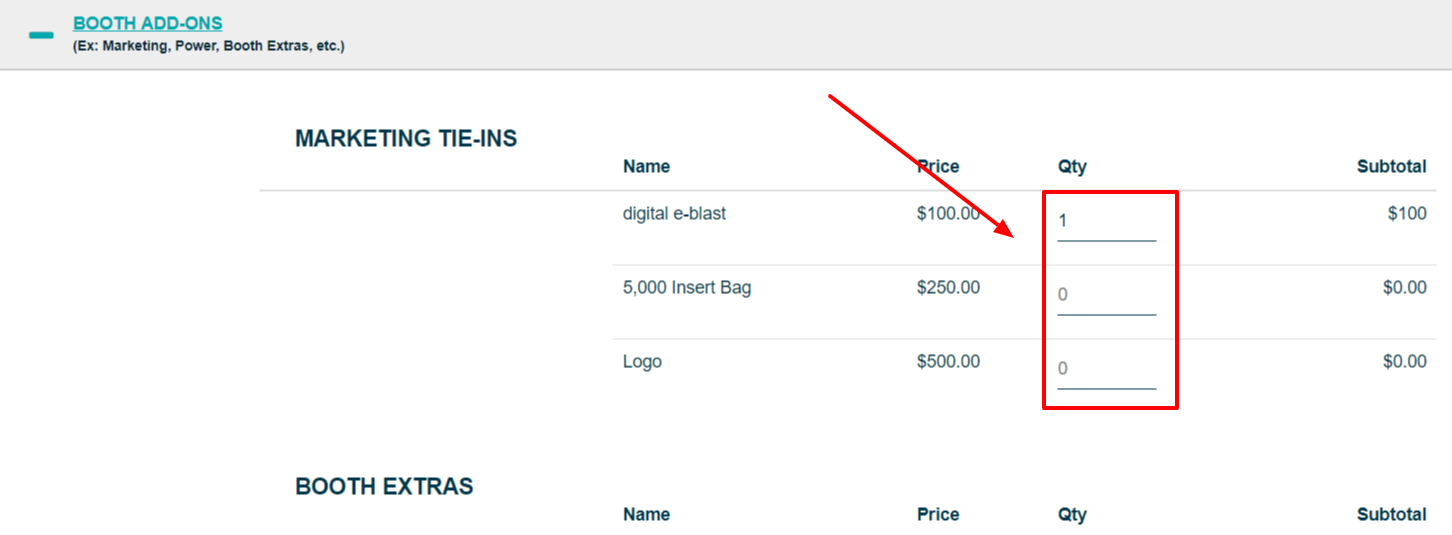
You can see the add-ons that the event has available for purchase in the Booth Add-Ons section of Checkout Step 1. If the event does not offer any add-ons, this section will be empty.
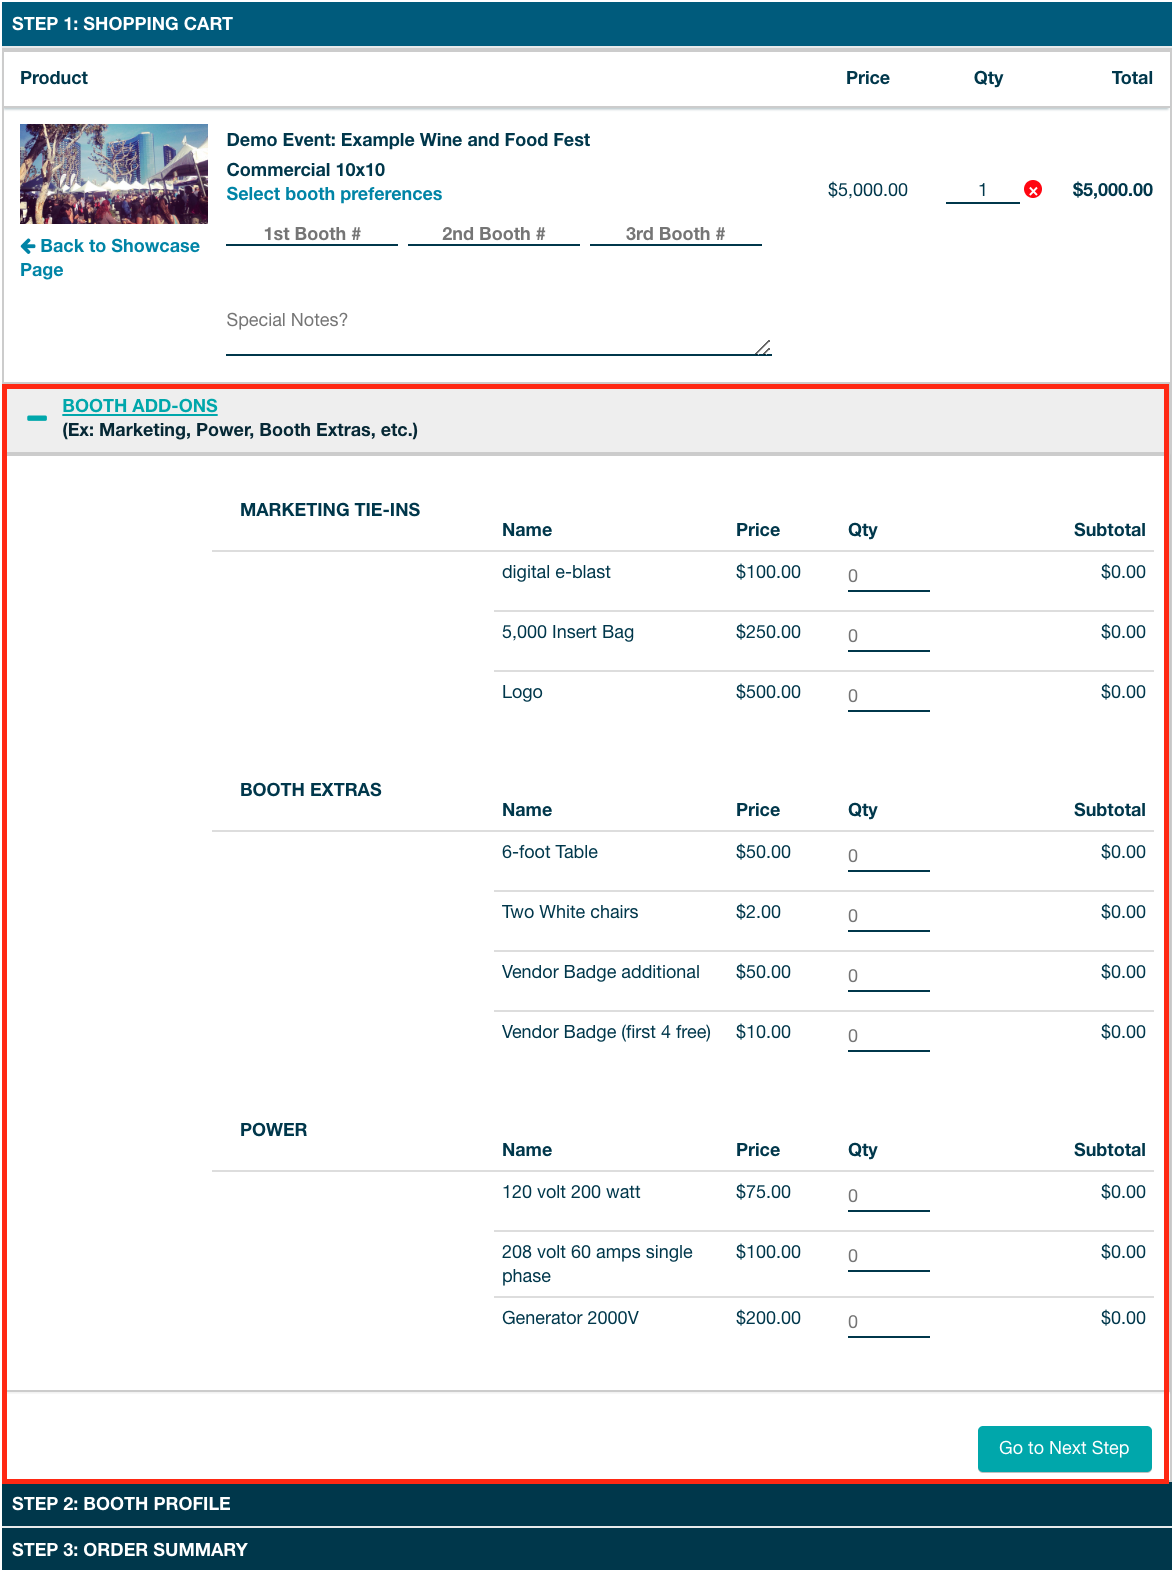
Add the number of any add-ons you want to purchase in that item's Quantity ("Qty") column. Once you have added all desired add-ons, click Go to Next Step to continue to Step 2 of Checkout.
Checkout - Step 2: Booth Profile
In Step two, you will input your brand's profile information and on-site rep's info.
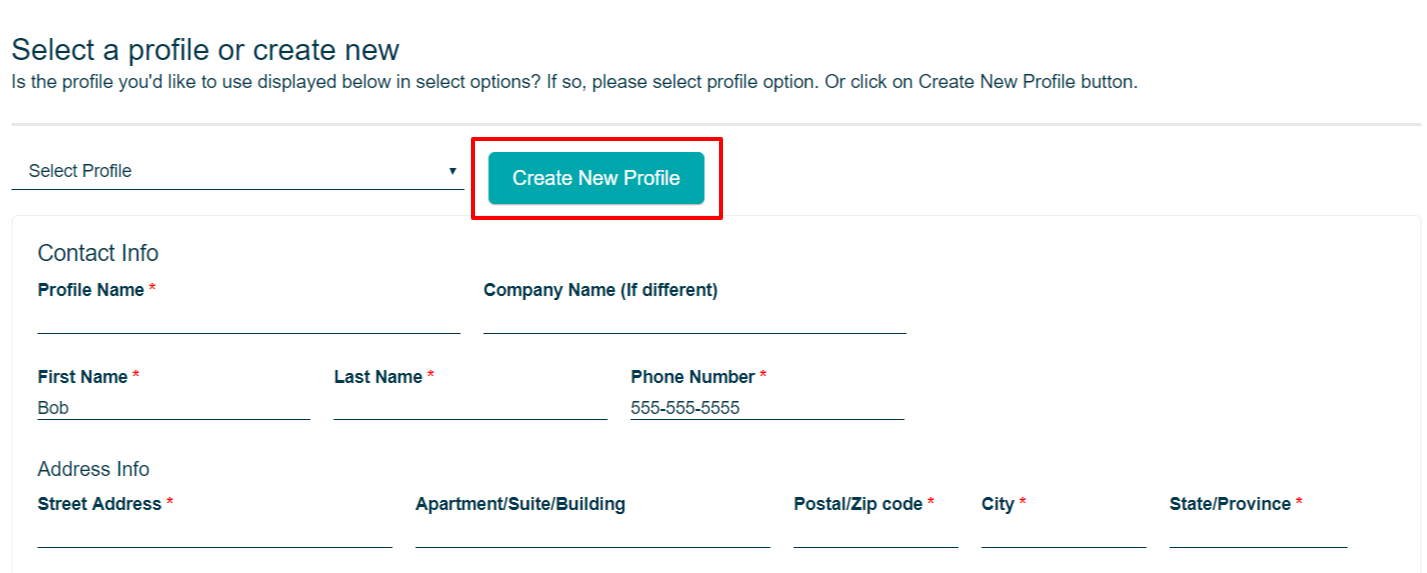
- Select the "Create New Booth Profile" button to create your profile.
- You can access previously saved booth profiles by selecting the 'Select Booth Profile' drop-down button for returning users.
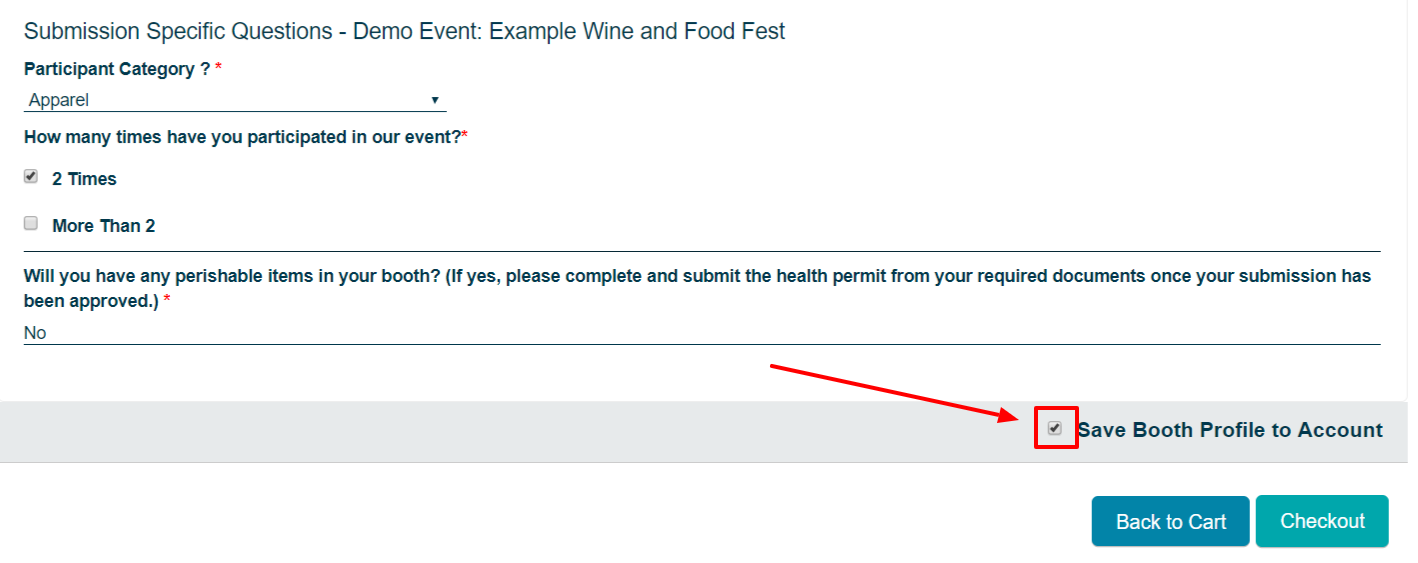
- Complete the required fields. Then select "Save Booth Profile to Account" to reuse for other submissions.
Checkout - Step 3: Order Summary
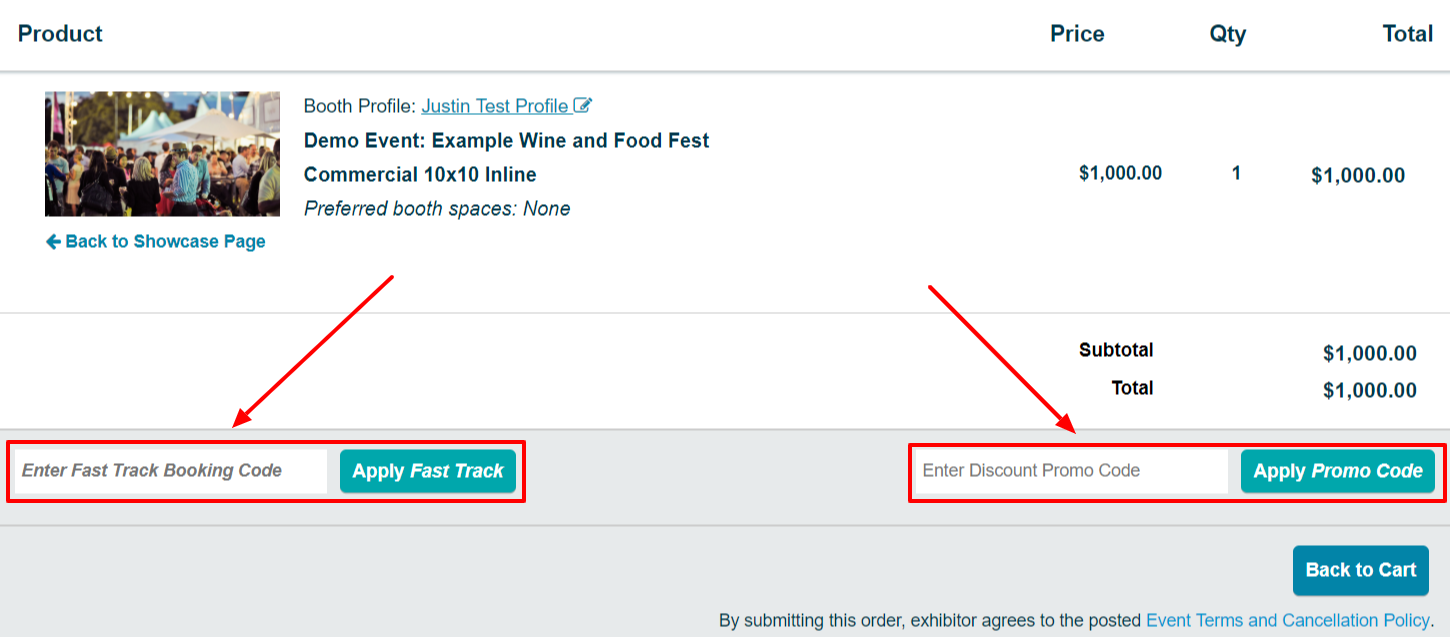
- Enter a promo code if you have one. If you received a fast track code, enter it as well. This will allow your submission to be automatically approved.
Lastly, select your preferred payment method based on what the event allows and submit your order. For example, if the event allows PayPal but you do not have a PayPal account, you can complete checkout through the "Pay with Debit or Credit Card" option.

Bookmark eventhub.net to visit your account and keep up with your order summary status and deliverable via the "My Event Hub" dashboard.
Suggested Articles:


Comments
0 comments
Please sign in to leave a comment.